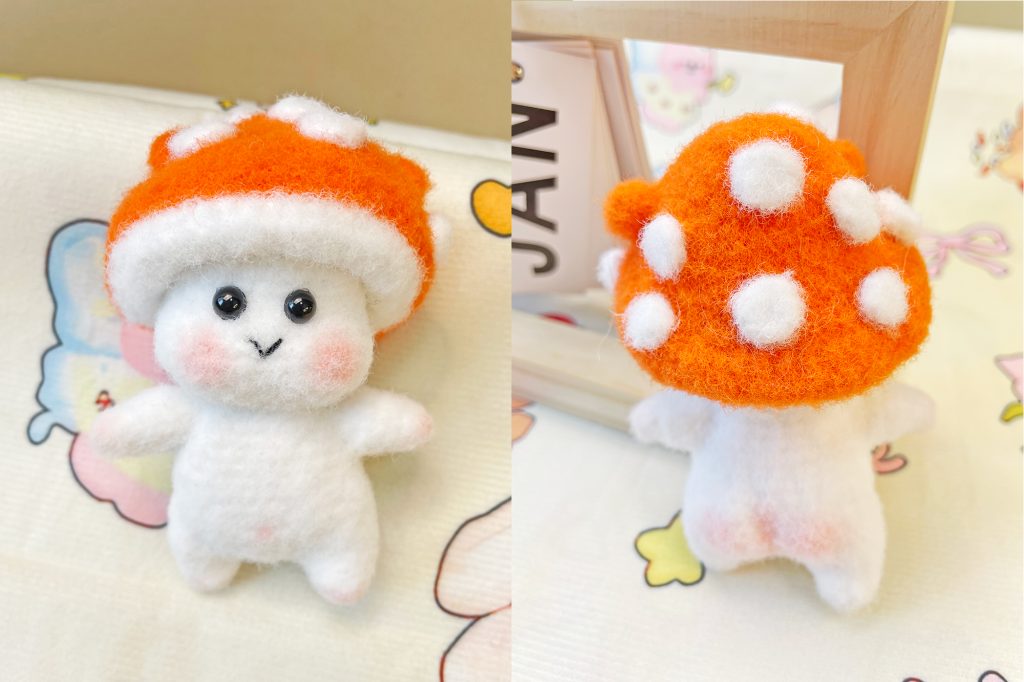
Looking for a warm, calming craft project? This chubby crochet mushroom tutorial is perfect for both beginners and seasoned crocheters, offering therapeutic relaxation through simple stitches and gentle repetition—no complicated shaping required! Made with easy-to-find supplies , this soft, squishy mushroom with charming curves and optional embroidered spots is ideal for adding whimsy to home decor, gifting to loved ones, or keeping as a comforting companion; it’s a lovely way to slow down, focus on the present, and create a tangible, cozy piece that brightens any space—grab your supplies and let’s hook up your new favorite little fungal friend!
X: sc(single crochet) V: 2 sc into the same stitch A: single crochet decrease number+(): the number of times to loop the stitches in parentheses ss,sl,st: ship stitch K: sk (skip) T: hdc (half double crochet) TV: half double crochet increase E: treble crochet
At the beginning of each round, make a chain (ch), and at the end of each round, work a slip stitch (sl st). These two stitches do not count toward the total stitch count.
Tools Needed:
- Yarn: Wool felt yarn
- Crochet Hook: Size 2.0
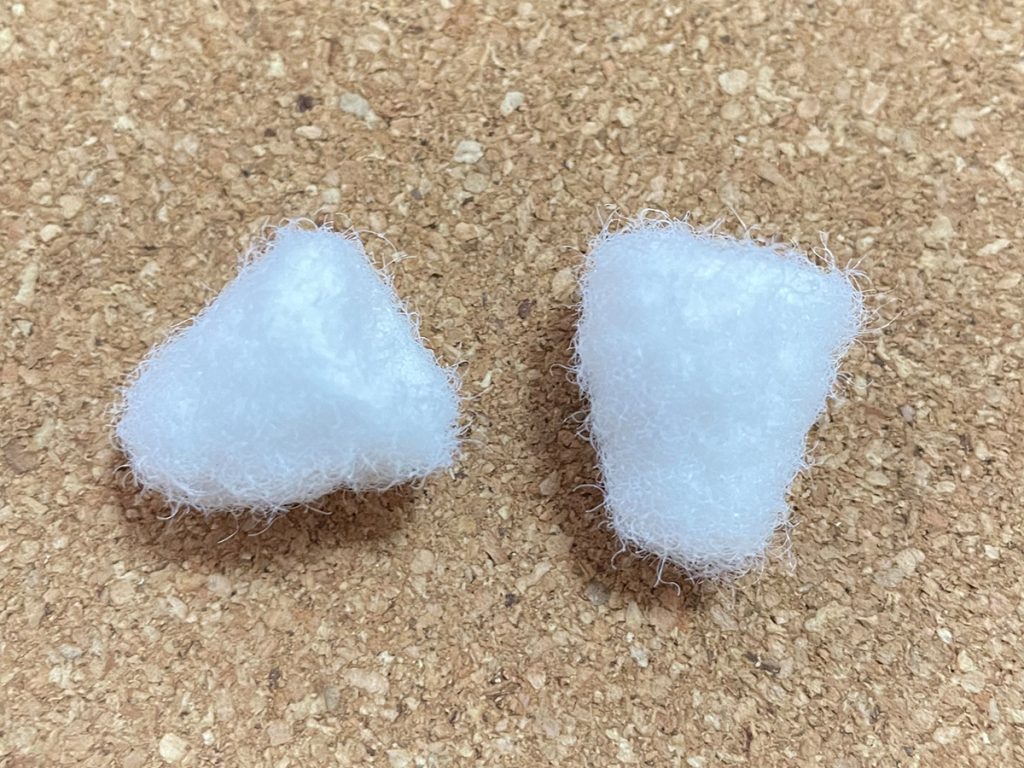
Crocheted Mushroom Hand Parts
| Row | Stitch | Total stitch |
| R1 | Magic Ring 4X | 4 |
| R2 | 2 (X, V) | 6 |
| R3 | 2 (2X, V) | 8 |
| R4 | 2 (3X, V) | 10 |
| R5 | 2 (4X, V) | 12 |
| R6 | 12X | 12 |
| When attaching the crocheted mushroom hand parts to the body, position the increase side toward the armpit area. |
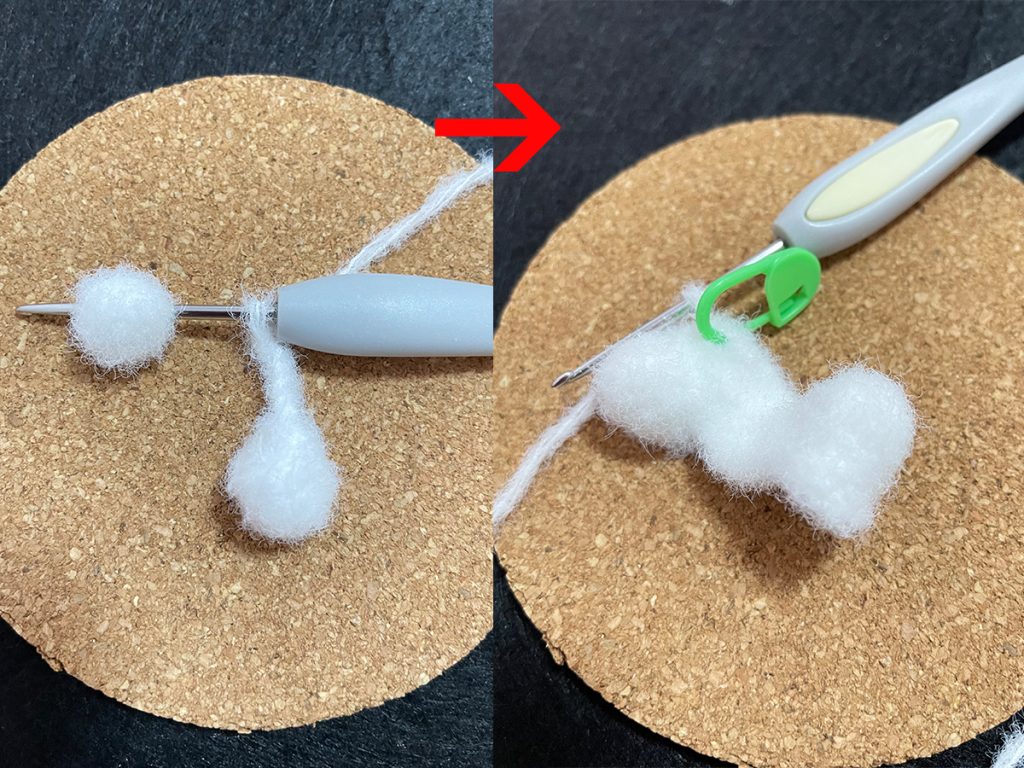
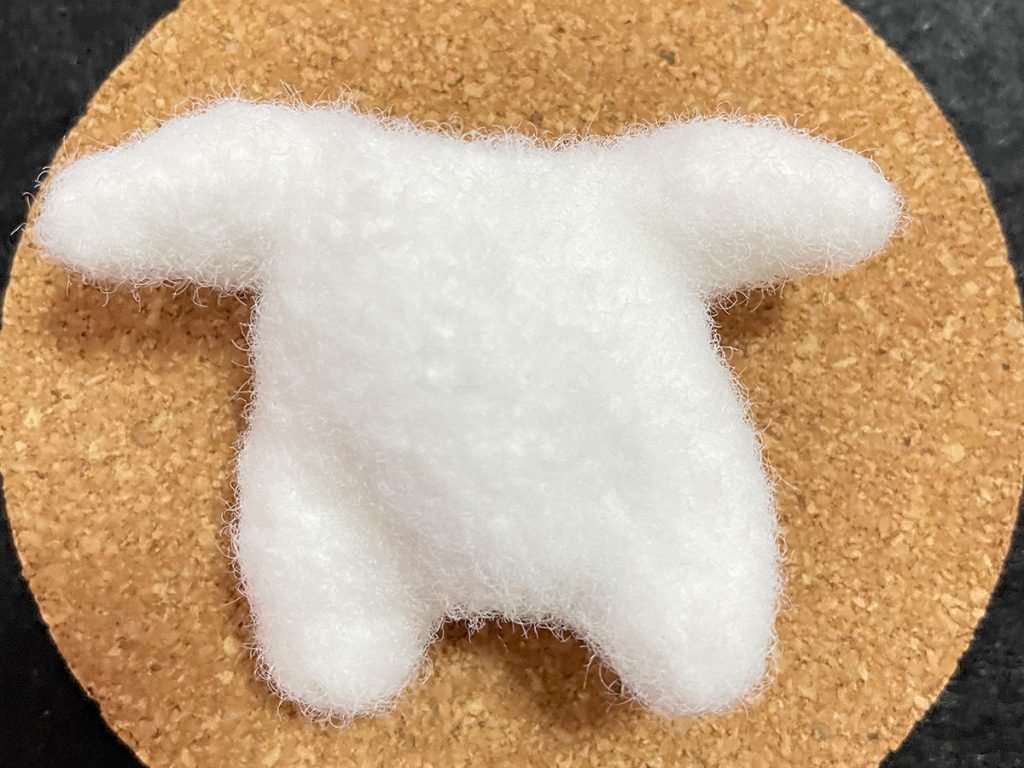
Crocheted Mushroom Feet and body
| Row | Stitch | Total stitch |
| R1 | Magic Ring 6X | 6 |
| R2 | 3 (X, V) | 9 |
| Cut the yarn, crochet the other leg using the same stitches as above. Once finished, work 9 single crochets, then chain 6 to connect it to the first leg. | ||
| Work in a continuous spiral from this point onward (meaning you do not work a slip stitch or a turning chain at the end of each round—instead, start crocheting the first stitch of the next round directly into the corresponding stitch). This stitch is only for the mushroom body. (Not for the Crocheted Mushroom Hand Parts) | ||
| R1 | 2V, 7X, 6X, 7X, 4V, 2X, 2V | 38 |
| R2 | 11X, 3 (X, V), 21X | 41 |
| R3~R6 | 41X | 41 |
| R7 | 27X, 4A, 2X, 2A | 35 |
| R8 | 2A, 27X,K2(Skip 2 stitches), 2X | 31 |
| R9~R11 | 31X | 31 |
| R12 | 4X,X, 3ch, K6(Skip 6 stitches), X, 12X, X, 3ch, K6, X, 7X | 29 |
| R13 | 4X, 3A, 12X, 3A,7X | 29 |
| R14 | 3X, 2A, 6X, A, 3X, 2A, 7X | 24 |
Sew the arms onto the main body
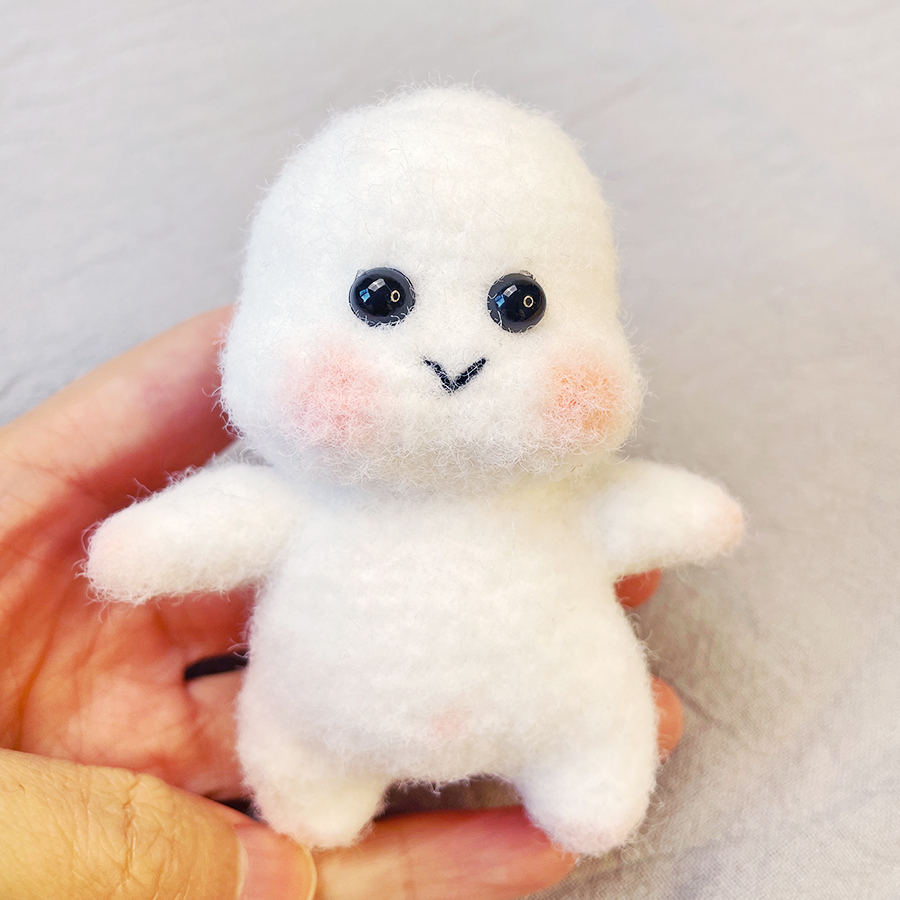
Crocheted Mushroom Head
| Row | Stitch | Total stitch |
| R1 | Magic Ring 6X | 6 |
| R2 | 6V | 12 |
| R3 | 6 (X, V) | 18 |
| R4 | 6 (X, V, X) | 24 |
| R5 | 6 (3X, V) | 30 |
| R6 | 6 (2X, V, 2X) | 36 |
| R7~R10 | 36X | 36 |
| R11 | 12X, 5V, 3X, 5V, 11X | 46 |
| R12~R14 | 46X | 46 |
| R15 | 12X, 5A, 3X, 5A, 11X | 36 |
| R16 | 6 (2X, A, 2X) | 30 |
| R17 | 6 (3X, A) Leave a long tail for sewing the Crocheted Mushroom Hand Parts | 24 |
Stuff the body and head with cotton, then sew them together.
Crocheted Mushroom Cap
| Row | Stitch | Total stitch |
| R1 | Magic Ring 8F | 8 |
| R2 | 8FV | 16 |
| R3 | 8 (F, FV) | 24 |
| R4 | 8 (F, FV, T) | 32 |
| R5 | 32F | 32 |
| R6 | 8 (3F, FV) | 40 |
| R7 | 8 (2F, FV, 2F) | 48 |
| R8 | 8 (5F, FV) | 56 |
| R9 | 56T | 56 |
| R10 | 56X | 56 |
| R11 | Change yarn (for a seamless join) — for the Crocheted Mushroom Hand Parts 56X | 56 |
| R12 | 8 (5T, TA) | 48 |
| R13 | 8 (2F, FA, 2F) | 40 |
| R14 | 8 (3F, FA) | 32 |
| R15 | 32T | 32 |
| R16 | 32X | 32 |
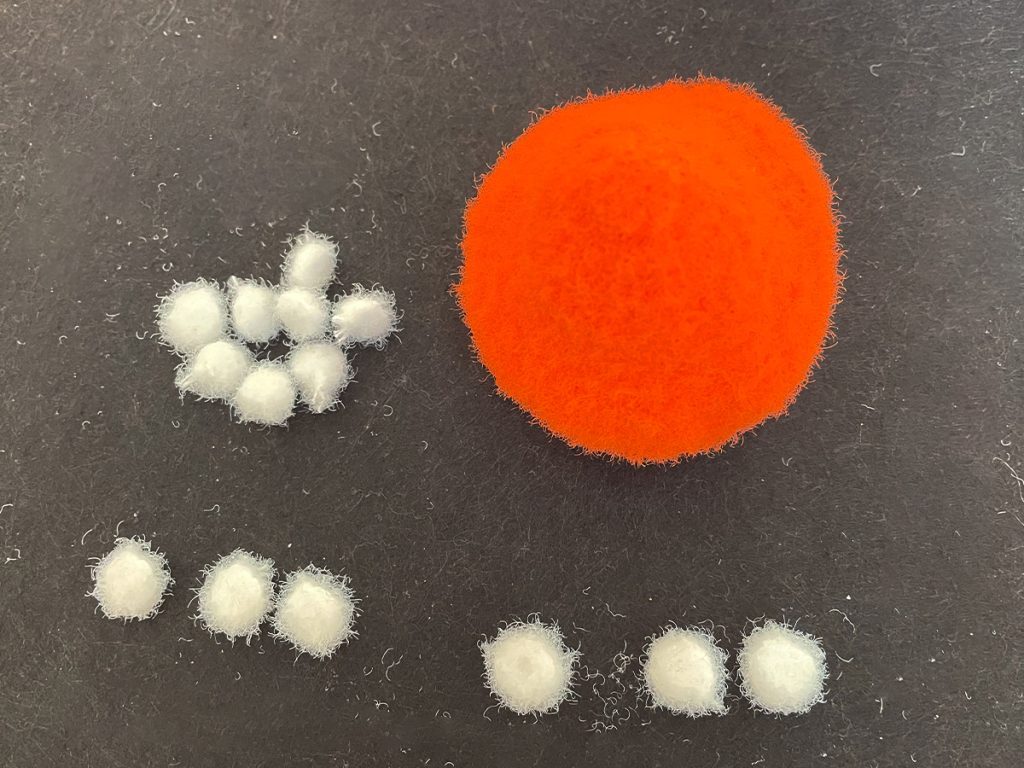
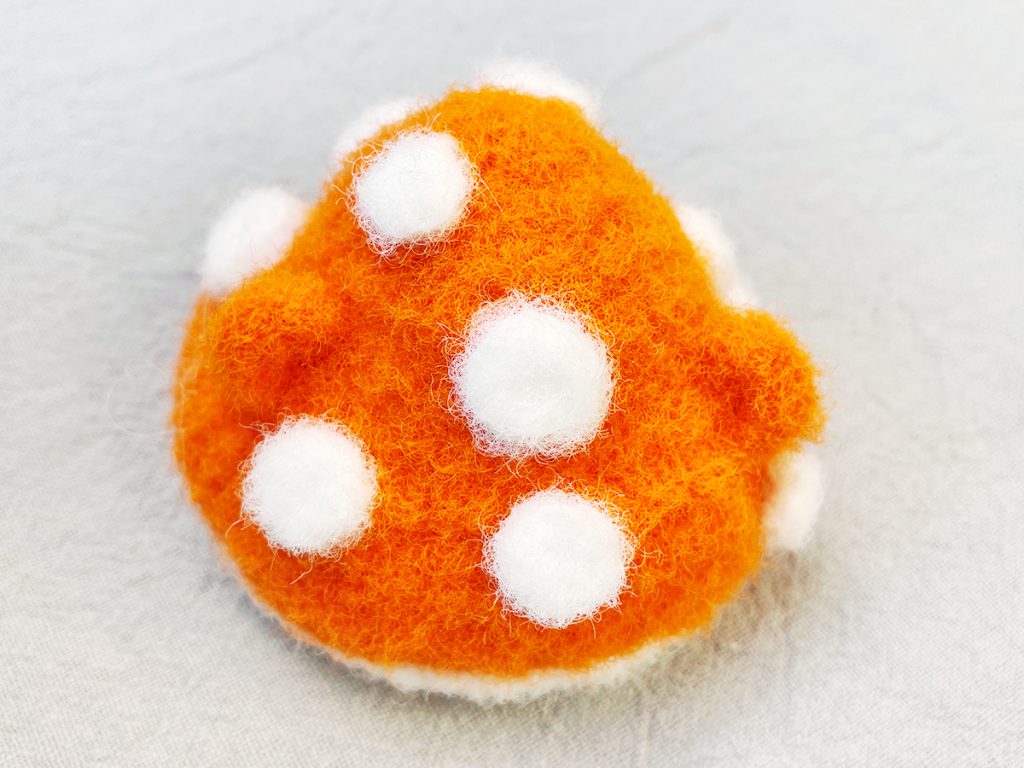
Polka Dots on the Crocheted Mushroom Cap
| Magic Ring 6x Crochet 7 Crocheted Mushroom Hand Parts |
| Magic Ring 8x Crochet 4 Crocheted Mushroom Hand Parts |
| Magic Ring 8T Crochet 3 Crocheted Mushroom Hand Parts |
| Attach them evenly onto the Crocheted Mushroom Cap |
Crochet a pair of ears for the crocheted mushroom doll
| Magic Ring 3ch, 4E, 3ch Slip stitch into the magic ring |
#CuteMushroomAmigurumi #CrochetedMushroomHandParts #EasyMushroomDollCrochetTutorial #AdorableMiniMushroomPlush #BeginnerFriendlyMushroomCrochet #WhimsicalMushroomAmigurumiPattern #crochet patterns for beginners


Leave a Reply