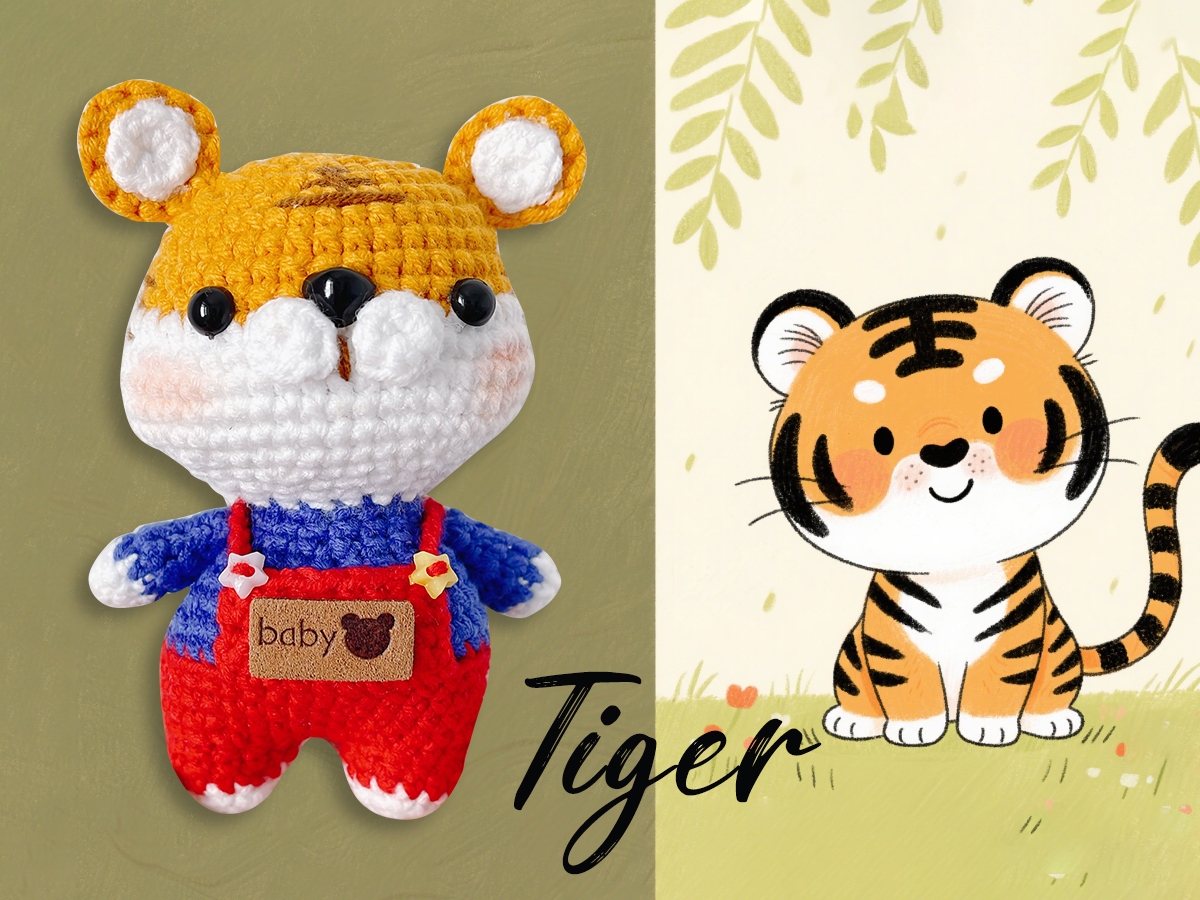
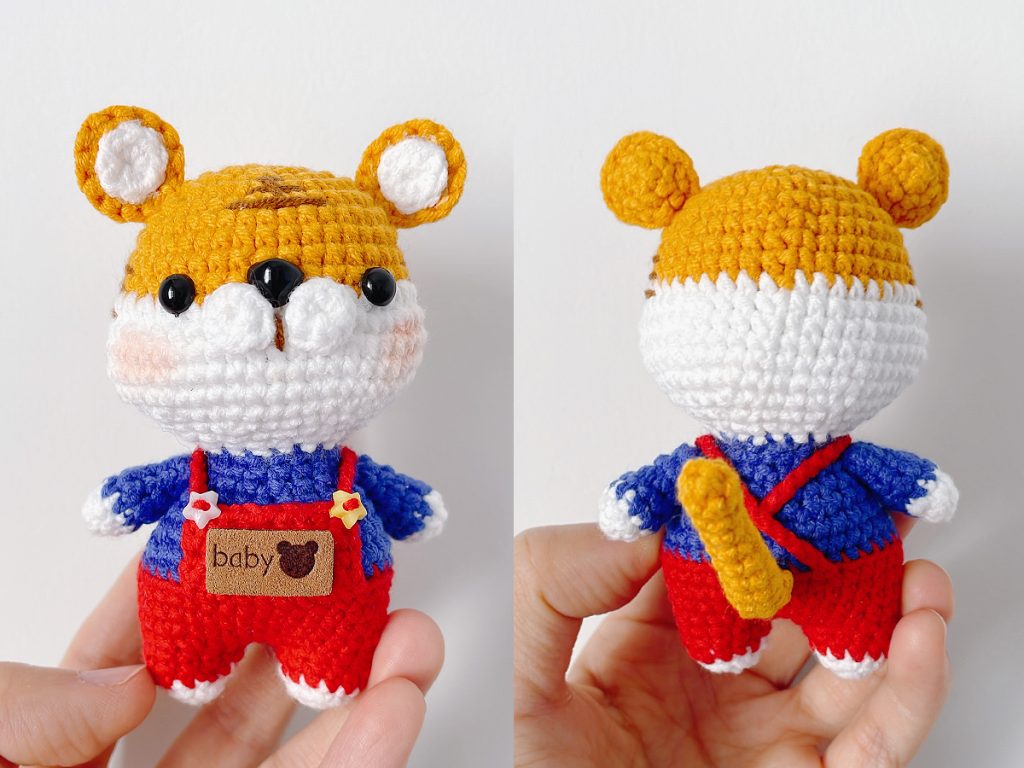
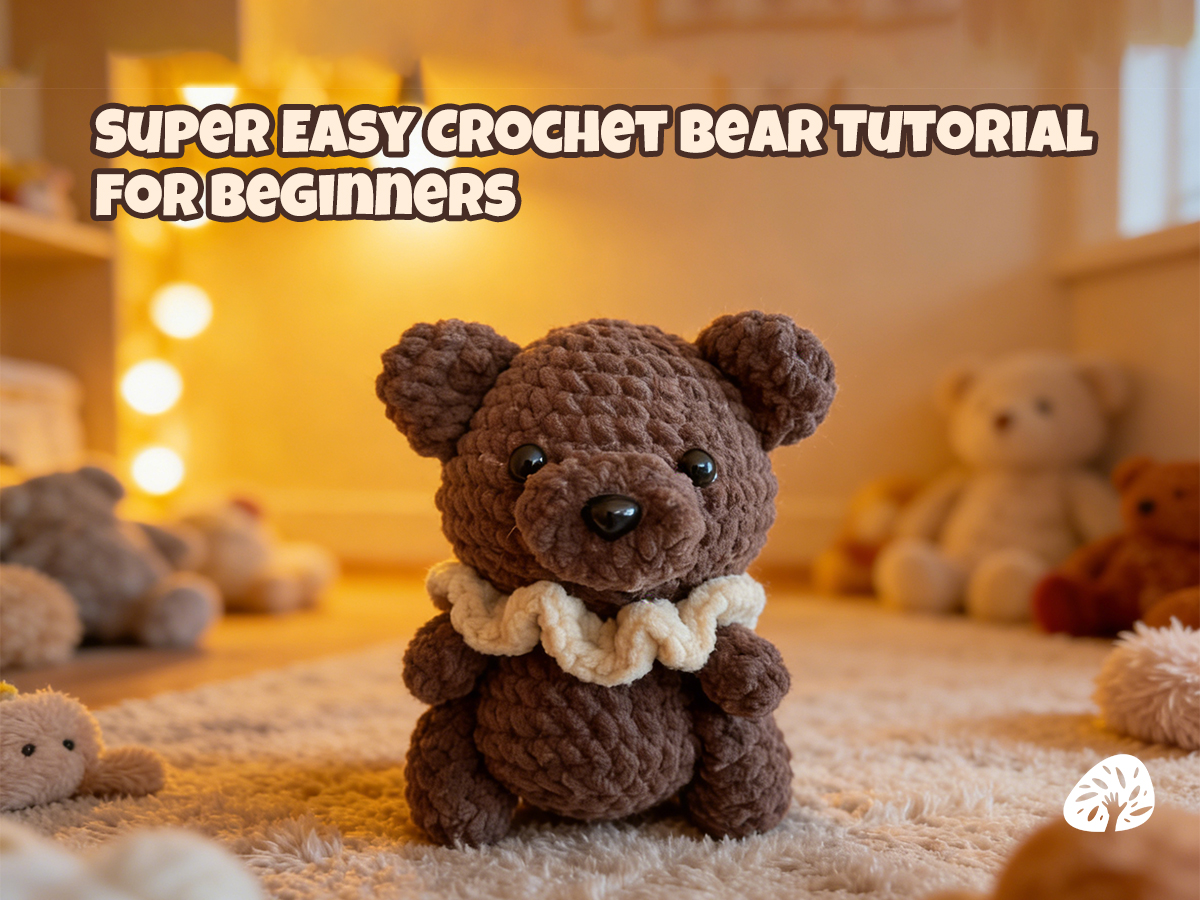
Hey, fellow crochet enthusiasts! There’s an indescribable thrill in taking a skein of yarn and breathing life into an enchanting creation. Today, I’m super excited to guide you towards your next crochet escapade: crafting an utterly adorable crochet tiger amigurumi!
This free crochet tiger amigurumi pattern will walk you through every step to create a fluffy striped tiger cub. Whether you need a handmade gift for a zoo-loving friend or a playful addition to your plush collection, this easy tutorial is perfect for beginners and beyond.
The moment I began crocheting this little feline, pure bliss washed over me. Each stitch felt like I was adding a layer to its vibrant personality. Its plush body, meticulously crafted with love, radiates coziness—you can almost feel the warmth of a real tiger cub. The black-and-orange stripes, carefully stitched, give it a touch of wild charm. Its perky ears and the little nose exude a sense of playfulness. And those bright, shiny eyes? They seem to tell a thousand stories, full of adventure and curiosity.
Crocheting isn’t merely a pastime; it’s a powerful form of self-expression, a wonderful way to slow down, and truly relish the simple pleasures. It’s incredibly therapeutic, helping you shed the stress of a long day. There’s nothing quite like the sense of pride and fulfillment that comes from creating something unique with your own two hands.
Whether you decide to gift this crochet tiger amigurumi to a special someone or keep it as a captivating addition to your personal collection, one thing’s for sure—it’s guaranteed to bring an abundance of smiles. So, grab your crochet hook, pick out your favorite yarn, and let’s embark on this journey to create a little slice of happiness!
Stitch Key (Beginner Friendly)
- X = sc (single crochet)
- V = 2 sc in same stitch (increase)
- A = single crochet decrease (sc 2tog)
- ch = chain stitch
- sl st = slip stitch
- () = repeat stitch group
Note: Start each round with ch, end with sl st. These two stitches do not count toward total stitches.
Tools & Materials
- Polyfill stuffing
- 4-ply yarn
- 2.0 mm crochet hooks
Step-by-Step: Crochet Tiger Amigurumi Pattern
Follow this crochet tiger amigurumi pattern round by round.
① Crochet the head of a little tiger
| Row | Stitch |
| R1 | 8X |
| R2 | 8V |
| R3 | 8 (X, V) |
| R4 | 8 (X, V, X) |
| R5 | 2(4X, V), 5X, V, 2(4X, V), 5X, V |
| R6~R9 | 38X |
| R10 | Changing the color of the wire 9X, 6V, 8X, 6V, 9X |
| R11-R14 | 50X |
| R15 | 9X, 6A, 8X, 6A, 9X |
| R16 | 3 (3X, A), 2X, A, 3 (3X, A), 2X, A |
| R17 | 6 (3X, A) |
| R18 | 6 (X, A, X) |
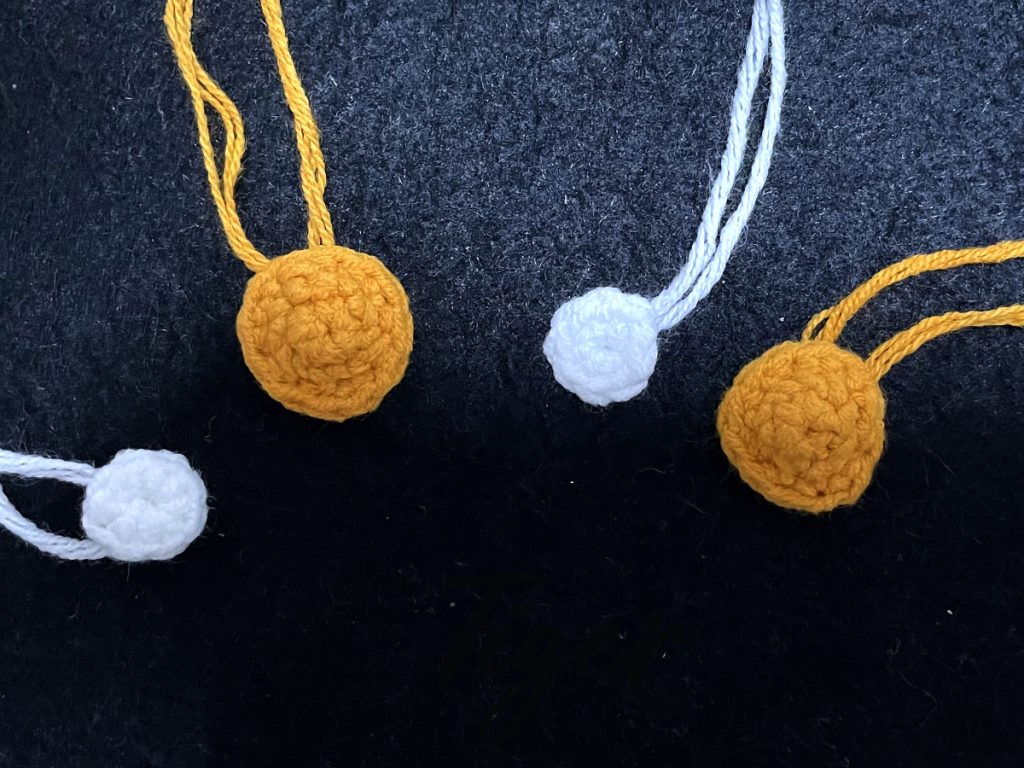
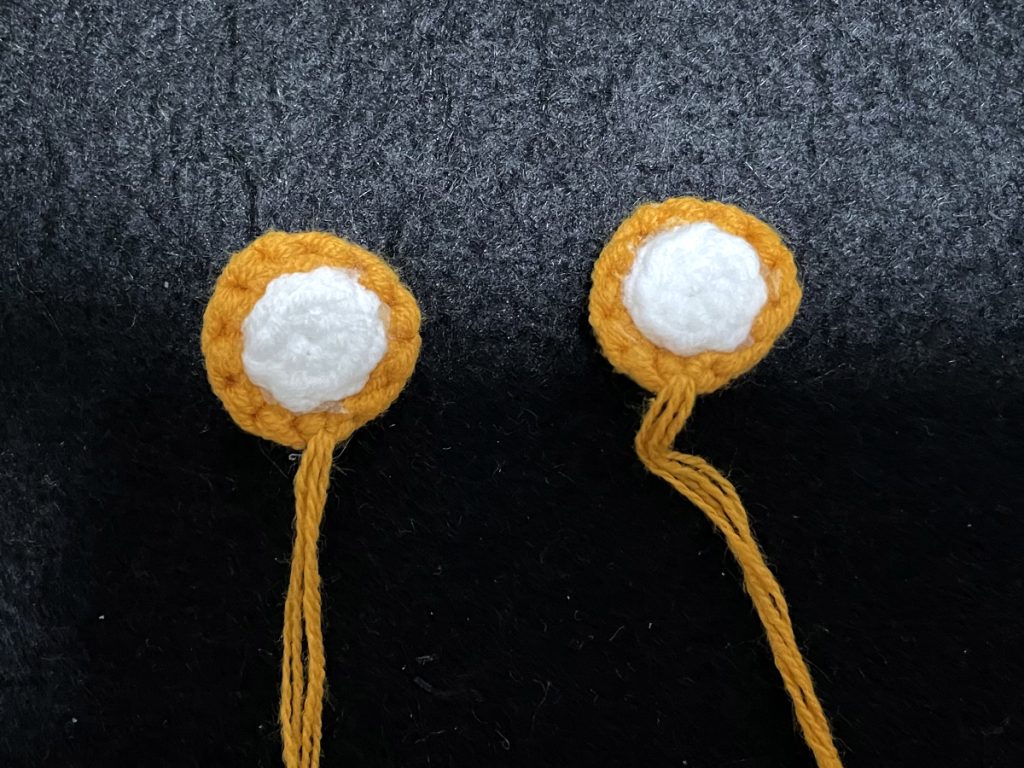
② Crochet the ears of a little tiger
| The inner ears |
| Start with a magic ring and crochet 8 single crochets. |
| Crochet the outer ears |
| R1: 6X |
| R2: 3 (X, V) |
| R3: 3 (X, V, X) |
| Stick the inner ears and the outer ears together or sew them together. |
③ Crochet the paws of a little tiger
| Row | Stitch |
| R1 | 6X |
| R2 | 2 (2X, V) |
| R3~R4 | Change to yarn of another color and crochet. 8X |
| R5 | 2 (2X, A) |
| R6~R7 | 6X |
④ Crochet the legs and body of a little tiger.
| Row | Stitch |
| R1 | 6X |
| R2 | 6V |
| R3~R4 | Change to yarn of another color and crochet. 12X |
| Crochet two penguin legs. Break the thread after finishing the first leg. For the second leg, chain 3 (3ch), then connect the two legs and crochet the body. | |
| R5 | 12X, 3X, 12X, 3X |
| R6 | 6 (2X, V, 2X) |
| R7~R9 | 36X |
| R10 | Change to yarn of another color and crochet. blo: 36X |
| R11 | 6X, A, 16X, A, 10X |
| R12 | 4X, 2A, 14X, 2A, 8X |
| R13 | 5 (2X, A, 2X) |
| R14 | 10X, A, 13X |
| R15 | 6 (2X, A) (Merge the arms at the appropriate position and crochet them.) |
| R16 | 18X |
| Leave a long thread to sew it to the head. |


⑤ Crochet the suspender trousers for the little tiger
| At the center of the outer half – stitch of R10, crochet 9 single crochets(flo:9X). Then crochet in rows for 4 rows. For the suspenders, chain 18 stitches, connect it to the back, and then crochet the other suspender. |
⑥ Crochet the tail of the little tiger
| R1~R12: 6X (You can add a shaping strip.) |
⑦ Crochet the area where the whiskers are on the face of the little tiger
| Start with a magic ring and crochet 8 single crochets. Crochet two pieces and stick them together. |
#CrochetTigerAmigurumiPattern #CrochetTiger #AmigurumiPattern #FreeCrochetPattern #HandmadeGift #ZooDecor #CrochetAnimal #TigerPlush #StripedCrochet #BeginnerCrochet #DIYCrochet #CrochetLove #AmigurumiTutorial #SoftYarn #HandmadeMagic


Leave a Reply