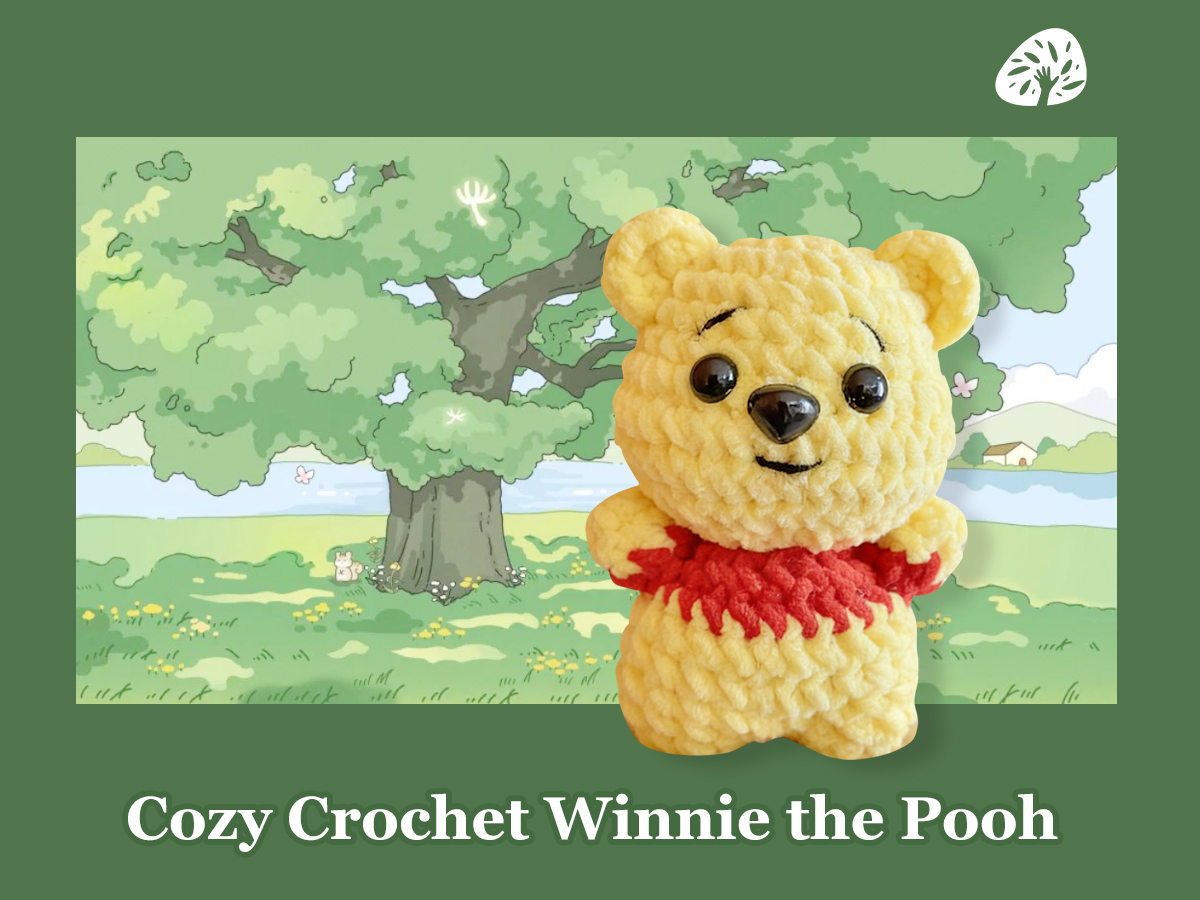
There’s something endlessly magical about hooking yarn into a tiny, floppy-eared bunny—slowly turning soft strands into a little friend that fits right in the palm of your hand. This gentle craft isn’t just about creating a cute keepsake; it’s about wrapping yourself in quiet joy: the soft click of a crochet hook, the warmth of yarn between your fingers, and the sweet satisfaction of watching a bunny take shape stitch by stitch. No rush, no pressure—just you, your hook, and a little bit of yarn weaving moments of calm into something you can hold, hug, and cherish. Perfect for beginners looking to dip their toes into crochet, this project turns simple stitches into a cuddly companion that’s as lovely to make as it is to love.
X: sc(single crochet) V: 2 sc into the same stitch A: single crochet decrease number+(): the number of times to loop the stitches in parentheses ss,sl,st: ship stitch K: sk (skip) blo: Through back loops only flo: Through front loops only
At the beginning of each round, make a chain (ch), and at the end of each round, work a slip stitch (sl st). These two stitches do not count toward the total stitch count.
Tools Needed:
- Yarn: Short-Pile Matte Chenille Yarn & mohair
- Crochet Hook: Size 1.2
Crochet the Bunny’s Head
| Row | Stitch | Total stitch |
| R1 | Magic Ring 6X | 6 |
| R2 | 6V | 12 |
| R3 | 6 (X, V) | 18 |
| R4 | 6 (X, V, X) | 24 |
| R5 | 6 (3X, V) | 30 |
| R6~R8 | 30X | 30 |
| R9 | 7X, 5V, 6X, 5V, 7X | 40 |
| R10~R12 | 40X | 40 |
| R13 | 7X, 5A, 6X, 5A, 7X | 30 |
| R14 | 6 (3X, A) | 24 |
| R15 | 6 (X, A, X) | 18 |
| R16 | 6 (X, A) | 12 |
| R17 | 6A | 6 |

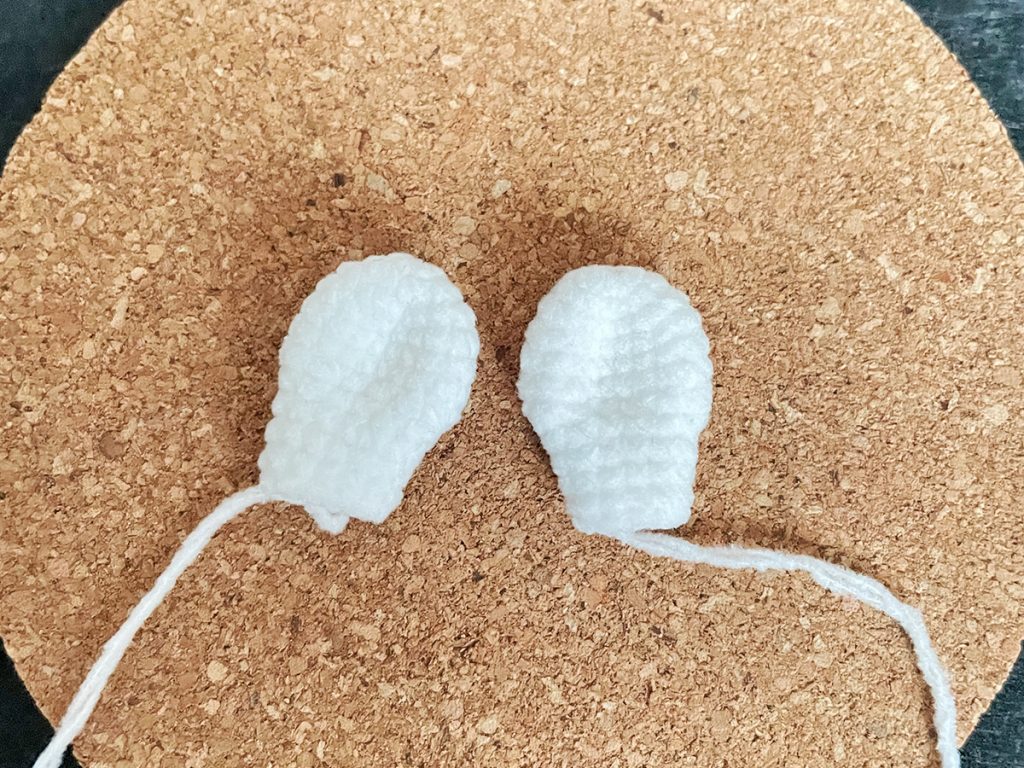
Crochet the Bunny’s Ears *2
| Row | Stitch | Total stitch |
| R1 | 6X | 6 |
| R2 | 6V | 12 |
| R3 | 6 (X, V) | 18 |
| R4~R6 | 18X | 18 |
| R7 | 6 (X, A) | 12 |
| R8~R11 | 12X | 12 |
Crochet the Bunny’s hands *2
| Row | Stitch | Total stitch |
| R1~R15 | 6X | 6 |

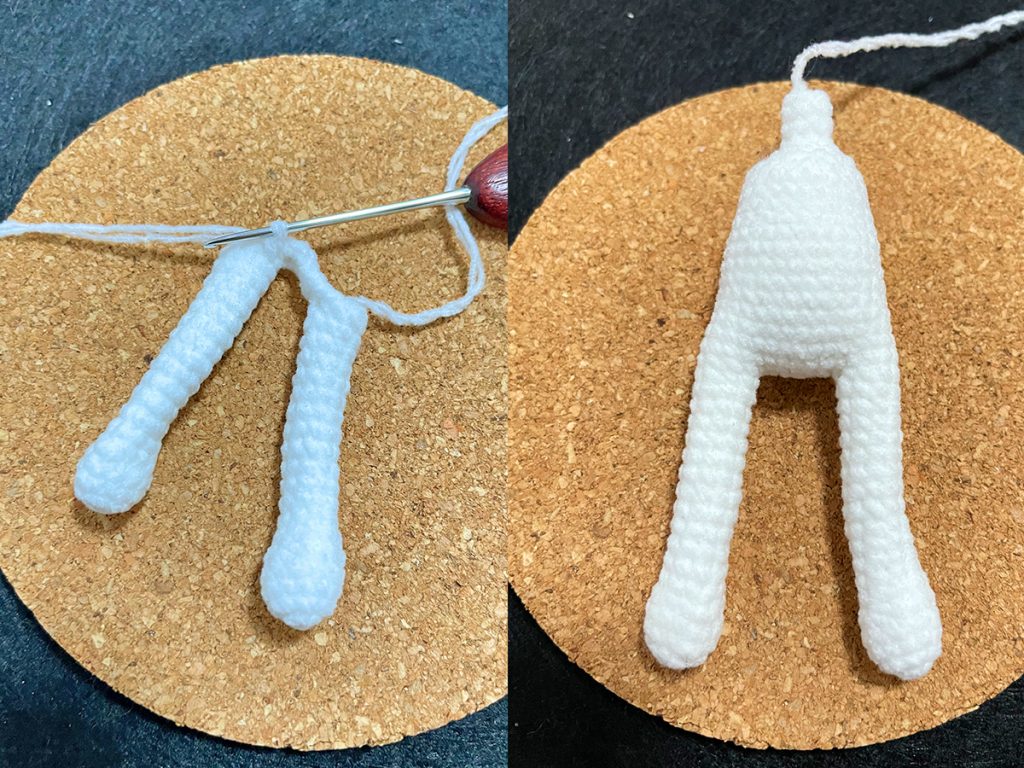
Crochet the Bunny’s Legs & Body
| Row | Stitch | Total stitch |
| R1 | 6X | 6 |
| R2 | 6V | 12 |
| R3~R4 | 12X | 12 |
| R5 | 4 (X, A) | 8 |
| R~R18 | 8X | 8 |
| Fasten off here, then crochet the other leg. Do not fasten off after crocheting the second leg. | ||
| R19 | After crocheting the second leg, chain 7 (ch 7), then join the two legs together and continue crocheting. 8X, 7X, 8X, 7X | 30 |
| R20~R28 | 30X | 30 |
| R29 | 6 (3X, A) | 24 |
| R30~R32 | 24X | 24 |
| R33 | 6 (2X, A) | 18 |
| R34 | 6 (X, A) | 12 |
| R35 | 6A | 6 |
| R36~R37 | 6X | 6 |
Crochet the Bunny’s Outfit
| Row | Stitch | Total stitch |
| R1 | Crochet 20 single crochets (sc 20), then join the first and last stitches to form a circle. | 20 |
| R2 | 10 (X,V) | 30 |
| R3 | 10 (X, V, X) | 40 |
| R4 | 6X, 6ch, K8, 12X, 6ch, K8,6X | 36 |
| R5 | 6X, 6X ,12X, 6X, 6X | 36 |
| R6 | 9 (3X, V) | 45 |
| R7~R17 | 45X | 45 |
| R18 | 9 (3X, A) | 36 |
| R19 | flo: 36(4ch, sl) | Repeat until the end. Adjust the length of the outfit to your preference. |

Crochet the Bunny’s Outfit Sleeves
| Row | Stitch | Total stitch |
| R1~R4 | 16X Crochet directly onto the outfit | 16 |
| R5 | 4 (3X, V) | 20 |
| R6~R9 | 20X | 20 |
| R10 | 5 (X, A, X) | 15 |
| R11 | flo: 15 (4ch,sl) | 15 |

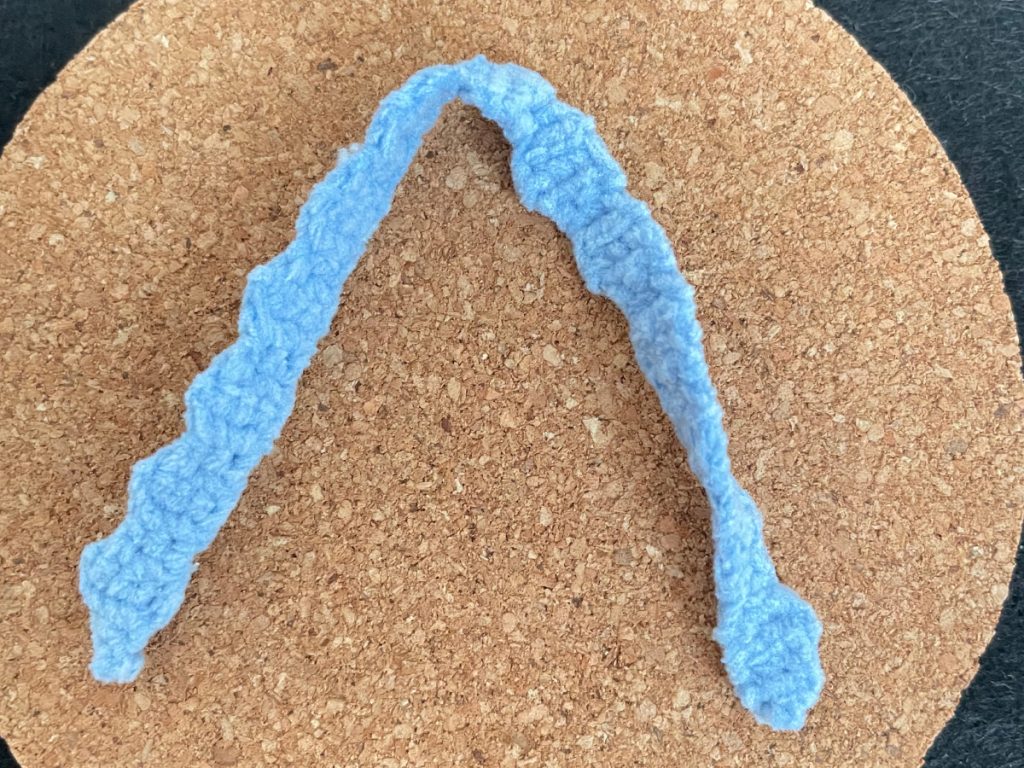
Crochet Headband
| 2 ch, sl st into the 1st chain from the hook. Turn, work 1 sc in the same st. Turn, work 1 inc. Turn, work 2 inc. Turn, work 4 sc. Turn, work 2 dec. Turn, work 2 sc, repeat until desired length is reached. Turn, work 2 inc. Turn, work 4 sc. Turn, work 2 dec. Turn, work 1 dec. Weave in ends. ———————————————————————————– 2 ch, sl st into 1st ch from hook. Turn, 1 sc. Turn, 1 inc. Turn, 2 inc. Turn, 4 sc. Turn, 2 dec. Turn, 2 sc, rep to desired length. Turn, 2 inc. Turn, 4 sc. Turn, 2 dec. Turn, 1 dec. Weave in ends. |
Assembly Complete

#CrochetRabbitTutorial #HowToCrochetABunny #AmigurumiBunnyTutorial #CrochetBunnyPattern #StuffedRabbitCrochet #CrochetRabbitGuide #BunnyCrochetInstructions #AmigurumiRabbitTutorial


Leave a Reply