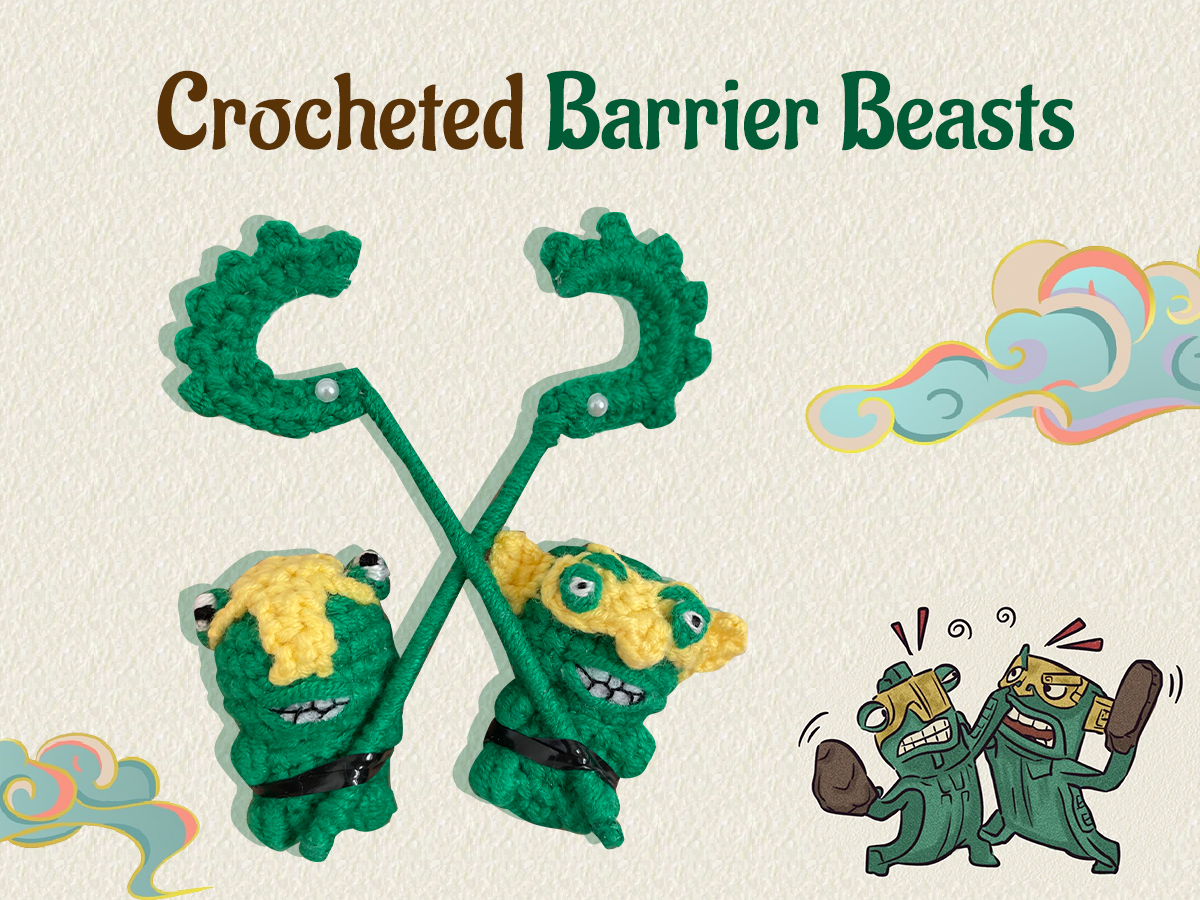
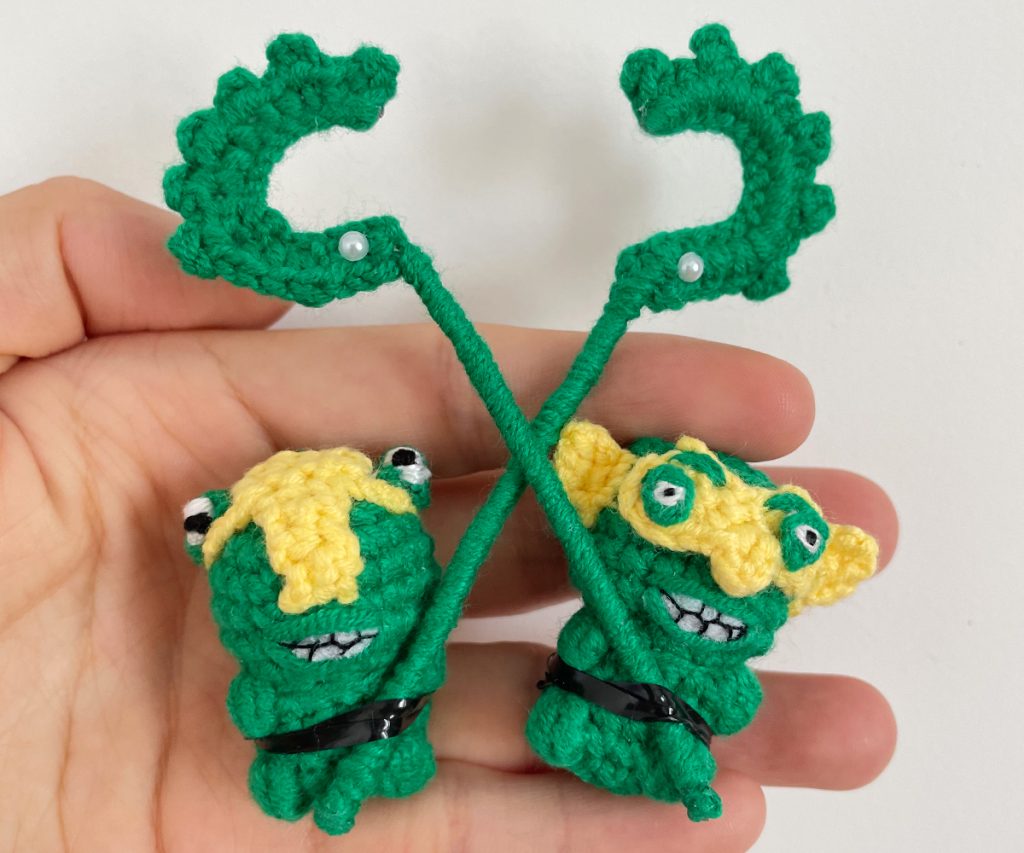
Looking for a unique and meaningful crochet project? This Sanxingdui barrier beasts crochet tutorial lets you make adorable amigurumi guardians inspired by ancient Sanxingdui culture. Designed to be simple and beginner-friendly, this pattern uses basic stitches to create cute, symbolic creatures full of character and charm.
Whether you want a special decorative piece for your home or a thoughtful handmade gift, this Sanxingdui barrier beasts crochet tutorial gives you clear, step-by-step instructions to finish your own lovely guardian easily.
Stitch Key (Beginner Friendly)
- X = sc (single crochet)
- V = 2 sc in same stitch (increase)
- A = single crochet decrease (sc 2tog)
- M = 3 sc together
- W = 3 sc in same stitch
- T = hdc (half double crochet)
- F = dc (double crochet)
- FV = 2 dc in same stitch
- E = treble crochet
- ch = chain stitch
- sl st = slip stitch
- K = skip stitch
- BLO = work in back loops only
- FLO = work in front loops only
- () = repeat stitch group
Note: Start each round with ch, end with sl st. These two stitches do not count toward total stitches.
Tools & Materials
- 4-ply yarn
- 2.0 mm crochet hooks
- Polyfill stuffing
Sanxingdui Barrier Beasts Crochet Pattern
Crocheting the curly-nosed beast
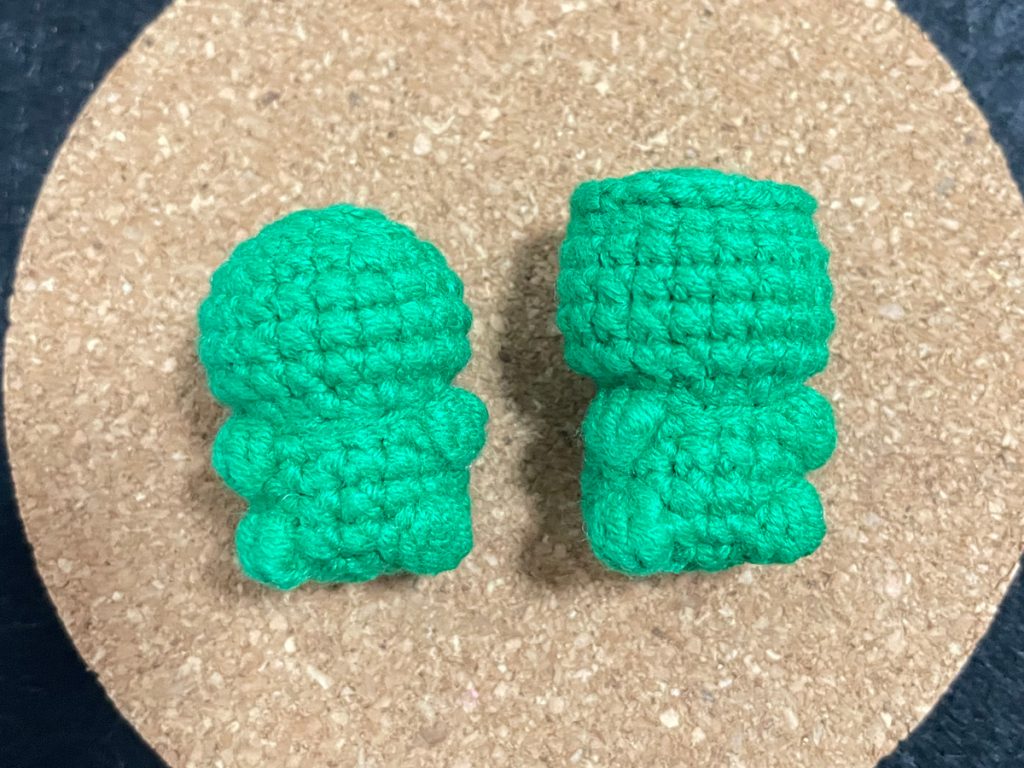
① Crocheting the main body of the curly-nose barrier beast
| Row | Stitch |
| R1 | Magic Ring 5X |
| R2 | 5V |
| R3 | 5 (X, V) |
| R4 | 5 (X, V, X) |
| R5~R7 | 20X |
| R8 | 10A |
| R9 | blo: X, V, B, V, X, V, B, V, X, V |
| R10~R11 | 15X |
| R12 | 4X, B, 3X, B, 6X |
| Tutorial for Crocheting the Curly-Nose Barrier Beast’s Body Leave a long tail to close up. Stuff with polyester fiberfill. Then, thread a needle, pick up the outer half of every other stitch, and pull tight to cinch it shut. |
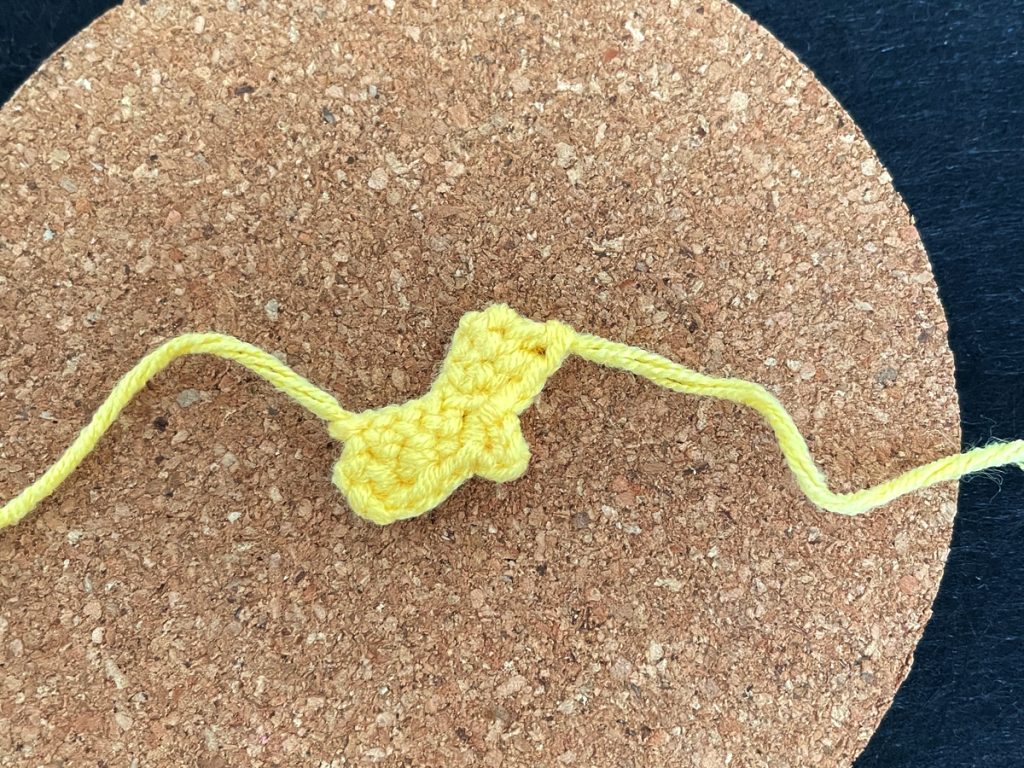
②Crocheting the eyes of the curly-nosed beast
| 3ch, Start crocheting 3 incomplete double crochets from the second-to-last stitch, ch |
③Crocheting the top of the curly-nosed beast’s head
| 4ch, Start crocheting from the third-to-last stitch 2X. Crochet three pieces |

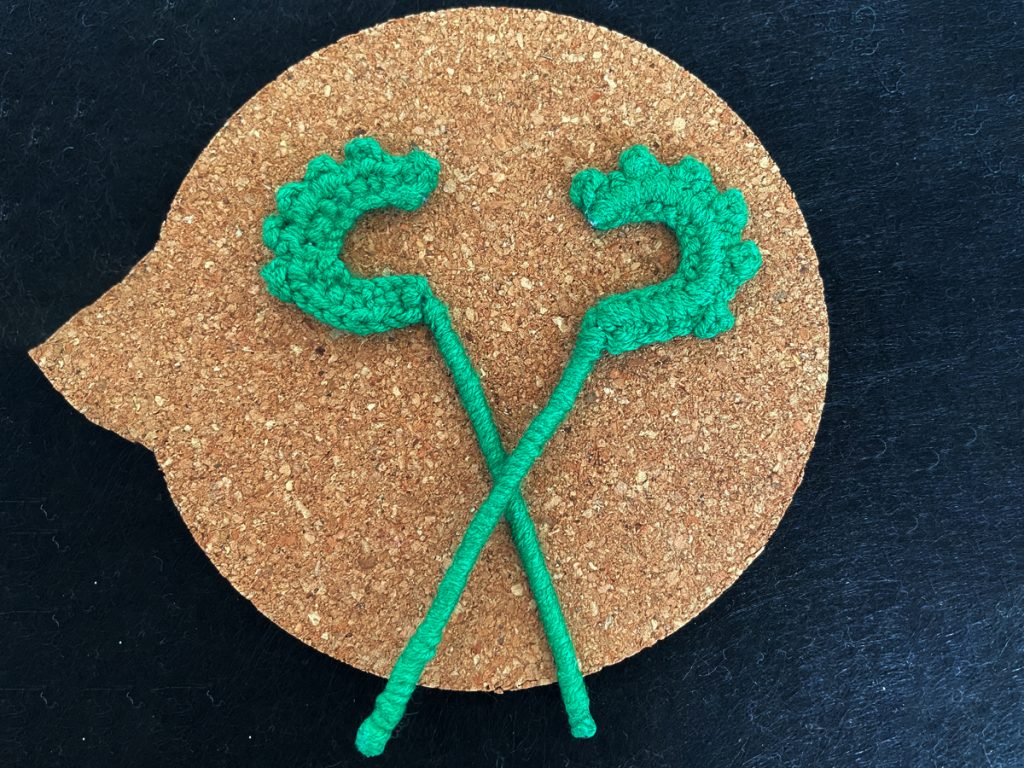
④ Crocheting the curly nose of the curly-nosed beast
| Row | Stitch |
| Flat crocheting 1 | 7ch, Start crocheting from the second-to-last stitch 5X, ch,Flip and crochet |
| Flat crocheting 2 | A,X,A,ch,Flip and crochet |
| Flat crocheting 3 | 3X, ch,Flip and crochet |
| Flat crocheting 4 | X, A, ch,Flip and crochet |
| Flat crocheting 5 ~ 7 | 2x, ch,Flip and crochet |
| On both sides, insert the hook between the 2nd and 3rd rows respectively, and 4ch. |
Crocheting Thick – brow beast
①Crocheting the main body of the thick – brow barrier beast
| Row | Stitch |
| R1 | Magic Ring 6X |
| R2 | 6V |
| R3 | 2 (X, V), 2V, 2 (X, V), 2V |
| R4 | blo: 20X |
| R5~R8 | 20X |
| R9 | 10A |
| R10 | blo: X, V, B, V, X,V, B, V,X,V |
| R11~R12 | 15X |
| R13 | 4X, B, 3X, B, 6X |
| R14 | 5 (X, A) |
| Leave a long tail to close up. | |
| Turn the head upside down, then work a round of slip stitches into the outer half of the stitches from Round 4. |
②Crocheting the ear of the thick – brow beast
| Leave a 15cm tail at the start to make sewing easier later. 4ch, Start crocheting from the third-to-last stitch 2X. Flip and crochet, X ,F |
③ Crocheting the mask
| 9ch, Start crocheting from the third-to-last stitch 7X, 2ch,Flip and crochet, F, T, X, (sl, ch, F, 2ch, sl), X, T, F |
Crocheting the staff
| 17ch, Start crocheting from the second-to-last stitch X, 6 (3ch, chain 3 picot, 2X),X, F, X Leave a long thread to wrap around the remaining wire. |
SanxingduiBarrierBeasts #SanxingduiBarrierBeastsCrochetTutorial #CrochetSanxingduiBeast #AmigurumiGuardianCrochet #BeginnerSanxingduiCrochet #CulturalCrochetTutorial #HandmadeSanxingduiGuardian #CrochetForBeginners #UniqueAmigurumiPatterns #DIYCrochetProjects


Leave a Reply