
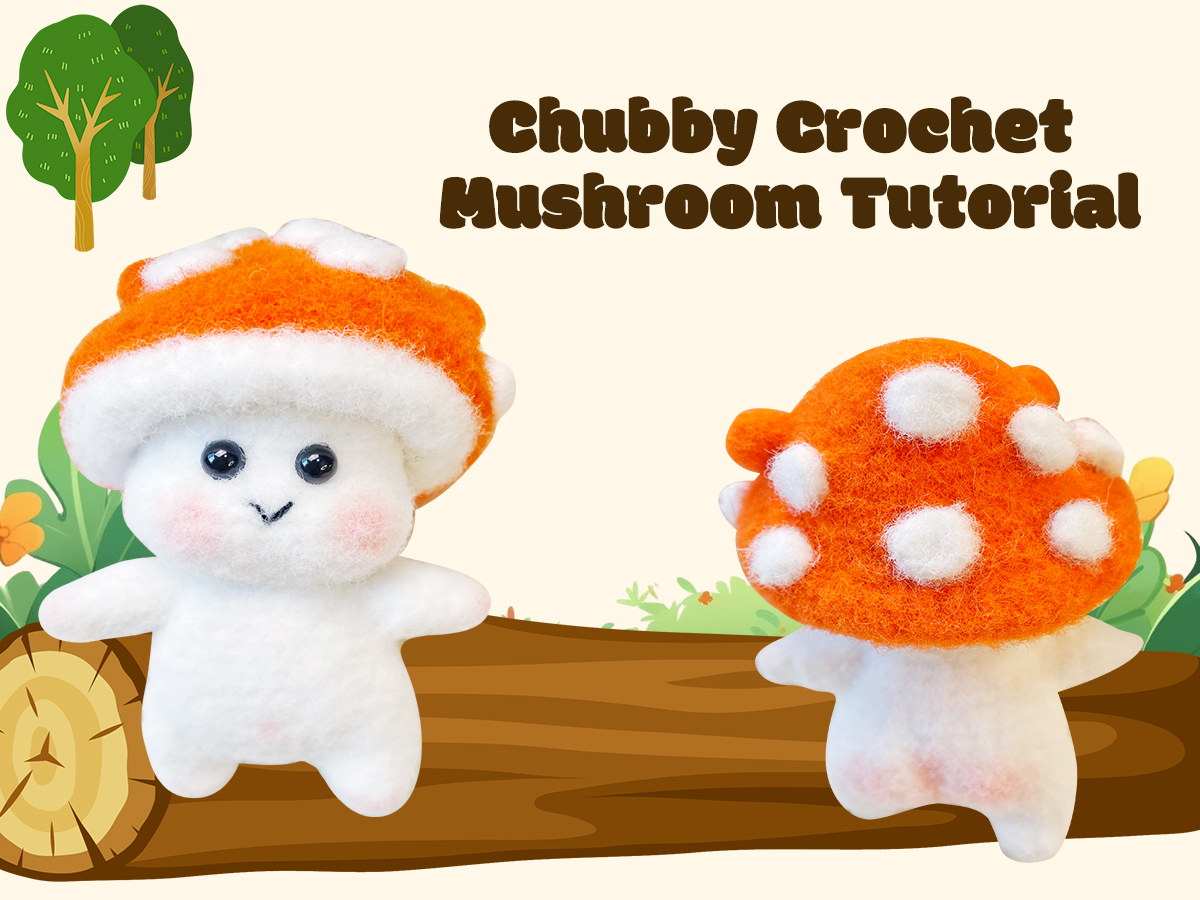
Discover the joy of mindful crafting with our chubby crochet mushroom tutorial. This complete, step-by-step guide will help you create an adorable, squishy mushroom friend—perfect for beginners seeking a relaxing project and experienced crocheters wanting a quick, satisfying make. With its soft curves, charming character, and optional embroidered spots, this little mushroom is ideal for home decor, a comforting stress-relief companion, or a heartfelt handmade gift.
Why You‘ll Love This Crochet Mushroom Pattern
This amigurumi mushroom pattern is designed with simplicity and comfort in mind. The gentle repetition of basic stitches makes it a therapeutic activity—a creative way to slow down, de-stress, and enjoy the process of making something with your own hands.
- Beginner-Friendly: Uses only basic stitches (single crochet, increases, and decreases) with no complicated shaping techniques.
- Quick Project: Complete your mushroom in approximately 1-2 hours, making it an ideal weekend craft.
- Mindful Making: The repetitive stitch rhythm promotes relaxation and a sense of calm—perfect for anxiety relief.
- Customizable: Add embroidered spots, choose your favorite yarn colors, or stuff it extra plush for a softer squish.
What You’ll Need to Get Started
Before you begin, gather these simple, easy-to-find supplies:
| Material | Recommendation |
|---|---|
| Yarn | Worsted weight (#4) yarn in your preferred mushroom colors (cream, beige, red, or brown) |
| Crochet Hook | Size 2.0 mm, depending on your desired tightness |
| Stuffing | Polyester fiberfill for a soft, squishy texture |
| Additional Supplies | Yarn needle, stitch markers |
| Finished Size | Approximately 10-12 cm (4-5 inches) tall, depending on yarn and hook choice |
Understanding the Stitch Abbreviations
This pattern uses standard US crochet terms. Please familiarize yourself with the following abbreviations before starting:
| Abbreviation | Term | Description |
|---|---|---|
| ch | Chain | Yarn over, pull through loop on hook |
| sc | Single Crochet | Insert hook, yarn over, pull up loop, yarn over, pull through both loops |
| inc / V | Increase | Work 2 single crochet stitches into the same stitch |
| dec / A | Decrease | Single crochet decrease (invisible decrease recommended) |
| sl st | Slip Stitch | Insert hook, yarn over, pull through both loops on hook |
| sk / K | Skip | Skip the next stitch without working into it |
| hdc / T | Half Double Crochet | Yarn over, insert hook, yarn over, pull up loop, yarn over, pull through all 3 loops |
| hdc inc / TV | Half Double Crochet Increase | Work 2 half double crochet stitches into the same stitch |
| tr / E | Treble Crochet | Yarn over twice, insert hook, yarn over, pull up loop, (yarn over, pull through 2 loops) 3 times |
Important Notes:
- At the beginning of each round, make a chain (ch) to reach the correct height.
- At the end of each round, join with a slip stitch (sl st) to the first stitch.
- The chain and slip stitch do not count toward the total stitch count of the round.
How to Use Your Finished Mushroom
Once completed, your chubby crochet mushroom is full of possibilities:
- Decorative Accent: Add a touch of woodland whimsy to your shelf, desk, or nightstand.
- Worry Buddy: Its soft, squishy texture makes it a comforting pocket-sized companion.
- Thoughtful Gift: Package it with a handwritten note for a heartfelt, handmade surprise.
- Seasonal Decor: Make a set in different colors to celebrate autumn, spring, or any season.
Stitch Your Way to Calm
This crochet mushroom tutorial is more than just a pattern—it‘s an invitation to slow down, breathe, and create. Whether you’re a beginner picking up a hook for the first time or an experienced maker looking for a cozy project, this little mushroom will reward you with a finished piece full of charm and character.
Ready to start? Scroll down for the complete step-by-step instructions and stitch your own chubby mushroom friend today!
1、Crocheted Mushroom Hand Parts
| Row | Stitch | Total stitch |
| R1 | Magic Ring 4X | 4 |
| R2 | 2 (X, V) | 6 |
| R3 | 2 (2X, V) | 8 |
| R4 | 2 (3X, V) | 10 |
| R5 | 2 (4X, V) | 12 |
| R6 | 12X | 12 |
| When attaching the crocheted mushroom hand parts to the body, position the increase side toward the armpit area. |
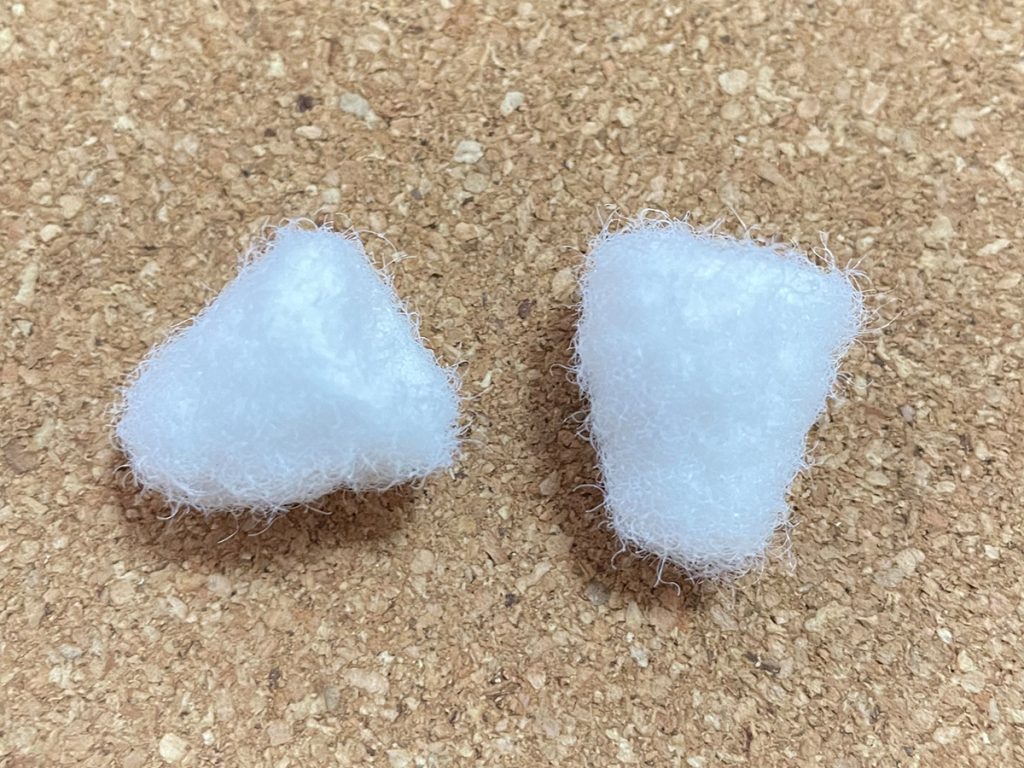
2、Crocheted Mushroom Feet and body
| Row | Stitch | Total stitch |
| R1 | Magic Ring 6X | 6 |
| R2 | 3 (X, V) | 9 |
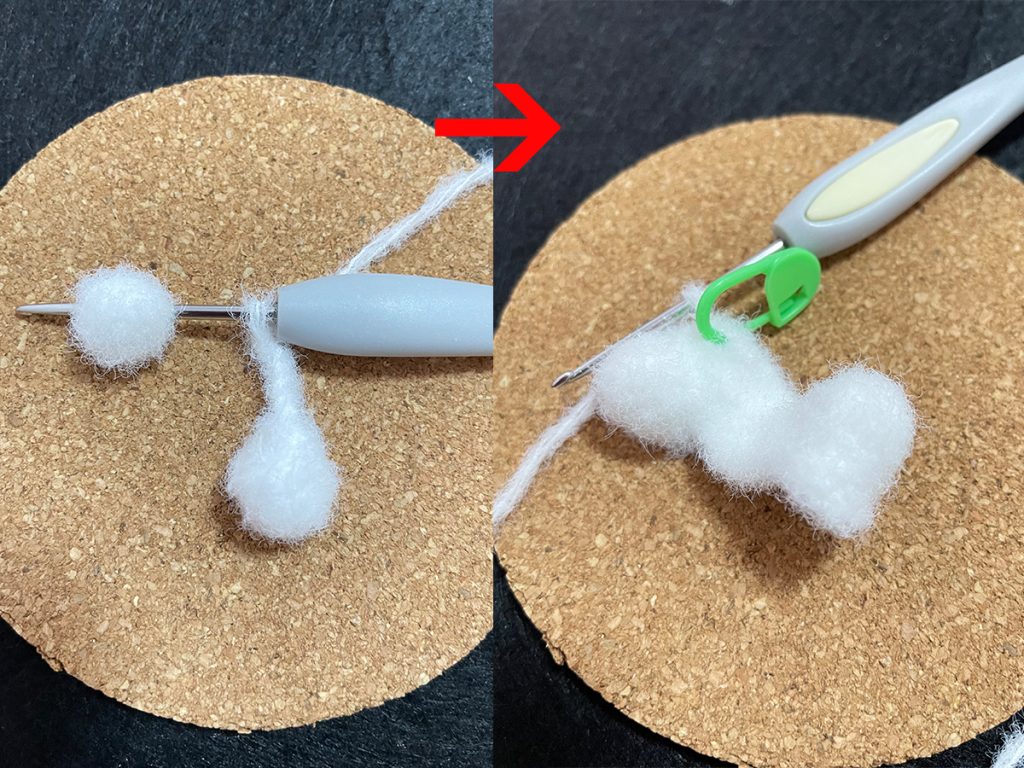
| Cut the yarn, crochet the other leg using the same stitches as above. Once finished, work 9 single crochets, then chain 6 to connect it to the first leg. | ||
| Work in a continuous spiral from this point onward (meaning you do not work a slip stitch or a turning chain at the end of each round—instead, start crocheting the first stitch of the next round directly into the corresponding stitch). This stitch is only for the mushroom body. (Not for the Crocheted Mushroom Hand Parts) | ||
| R1 | 2V, 7X, 6X, 7X, 4V, 2X, 2V | 38 |
| R2 | 11X, 3 (X, V), 21X | 41 |
| R3~R6 | 41X | 41 |
| R7 | 27X, 4A, 2X, 2A | 35 |
| R8 | 2A, 27X,K2(Skip 2 stitches), 2X | 31 |
| R9~R11 | 31X | 31 |
| R12 | 4X,X, 3ch, K6(Skip 6 stitches), X, 12X, X, 3ch, K6, X, 7X | 29 |
| R13 | 4X, 3A, 12X, 3A,7X | 29 |
| R14 | 3X, 2A, 6X, A, 3X, 2A, 7X | 24 |
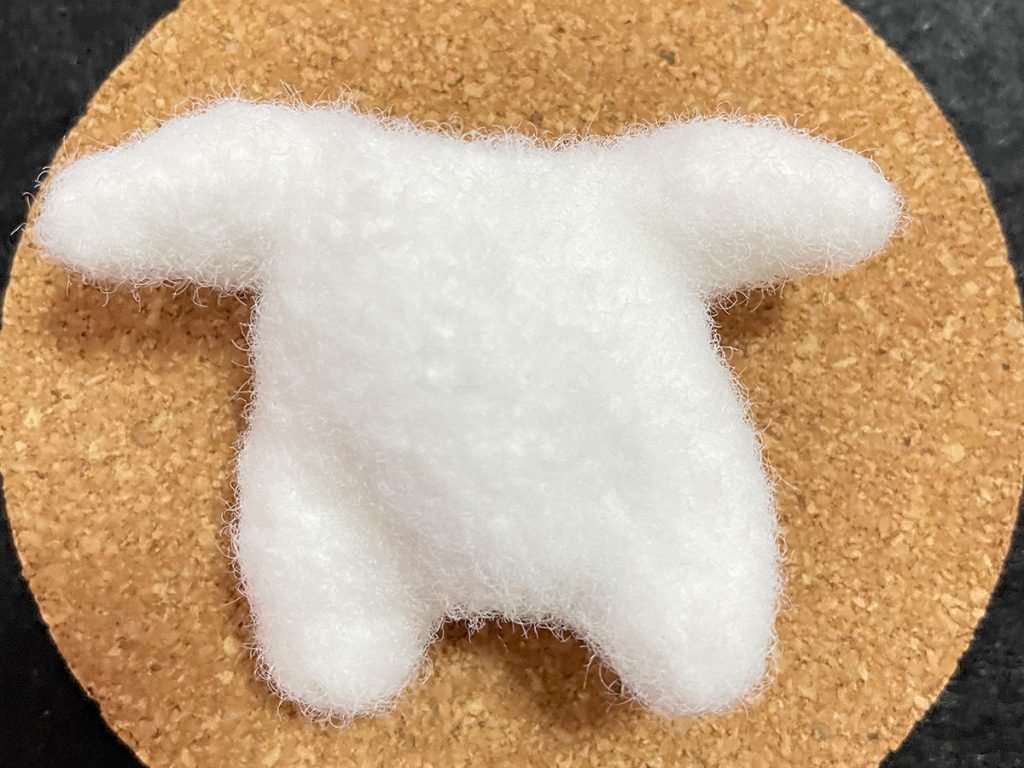
Sew the arms onto the main body
3、Crocheted Mushroom Head
| Row | Stitch | Total stitch |
| R1 | Magic Ring 6X | 6 |
| R2 | 6V | 12 |
| R3 | 6 (X, V) | 18 |
| R4 | 6 (X, V, X) | 24 |
| R5 | 6 (3X, V) | 30 |
| R6 | 6 (2X, V, 2X) | 36 |
| R7~R10 | 36X | 36 |
| R11 | 12X, 5V, 3X, 5V, 11X | 46 |
| R12~R14 | 46X | 46 |
| R15 | 12X, 5A, 3X, 5A, 11X | 36 |
| R16 | 6 (2X, A, 2X) | 30 |
| R17 | 6 (3X, A) Leave a long tail for sewing the Crocheted Mushroom Hand Parts | 24 |
Stuff the body and head with cotton, then sew them together.
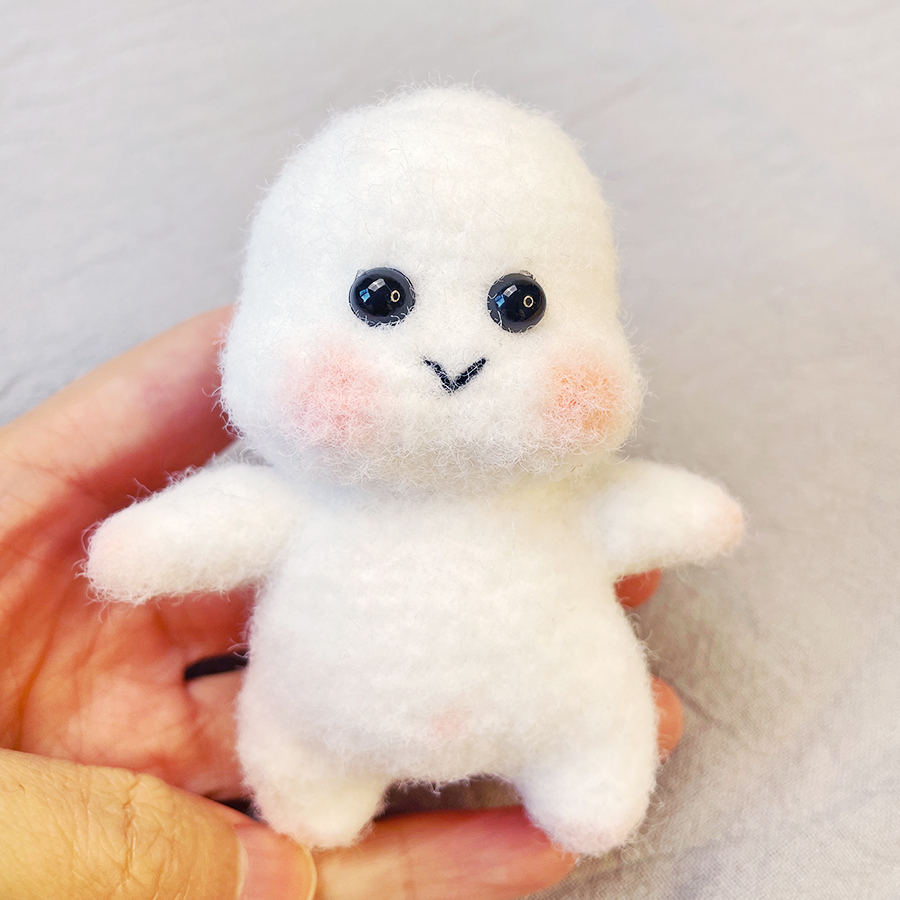
4、Crocheted Mushroom Cap
| Row | Stitch | Total stitch |
| R1 | Magic Ring 8F | 8 |
| R2 | 8FV | 16 |
| R3 | 8 (F, FV) | 24 |
| R4 | 8 (F, FV, T) | 32 |
| R5 | 32F | 32 |
| R6 | 8 (3F, FV) | 40 |
| R7 | 8 (2F, FV, 2F) | 48 |
| R8 | 8 (5F, FV) | 56 |
| R9 | 56T | 56 |
| R10 | 56X | 56 |
| R11 | Change yarn (for a seamless join) — for the Crocheted Mushroom Hand Parts 56X | 56 |
| R12 | 8 (5T, TA) | 48 |
| R13 | 8 (2F, FA, 2F) | 40 |
| R14 | 8 (3F, FA) | 32 |
| R15 | 32T | 32 |
| R16 | 32X | 32 |
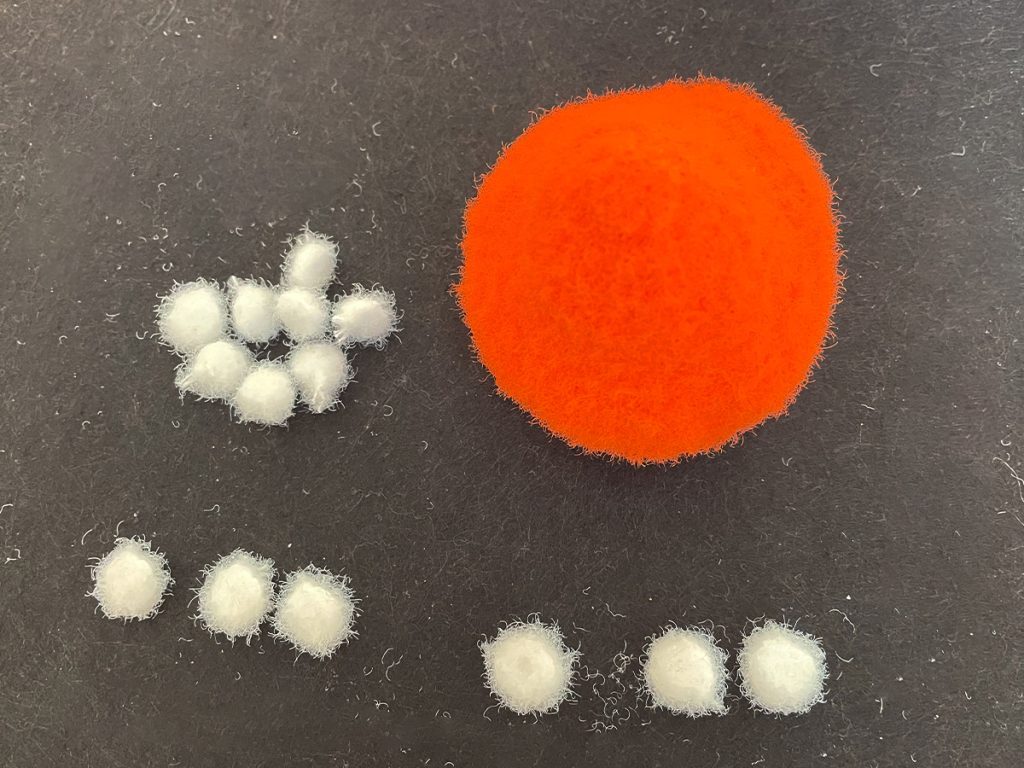
5、Polka Dots on the Crocheted Mushroom Cap
| Magic Ring 6x Crochet 7 Crocheted Mushroom Hand Parts |
| Magic Ring 8x Crochet 4 Crocheted Mushroom Hand Parts |
| Magic Ring 8T Crochet 3 Crocheted Mushroom Hand Parts |
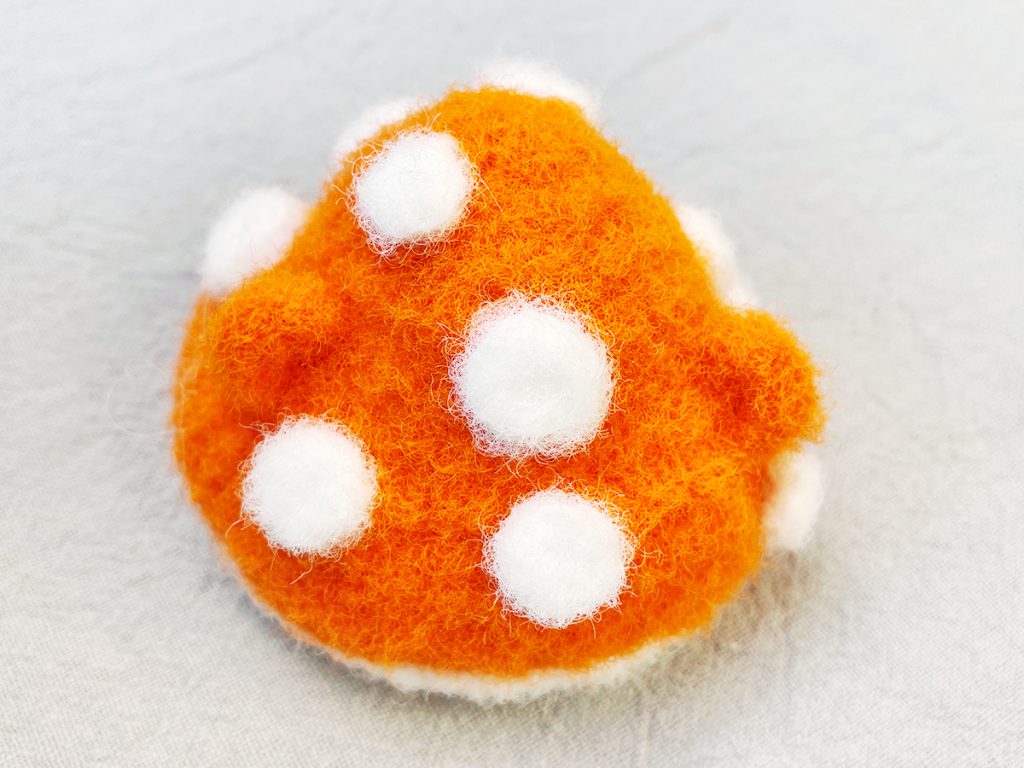
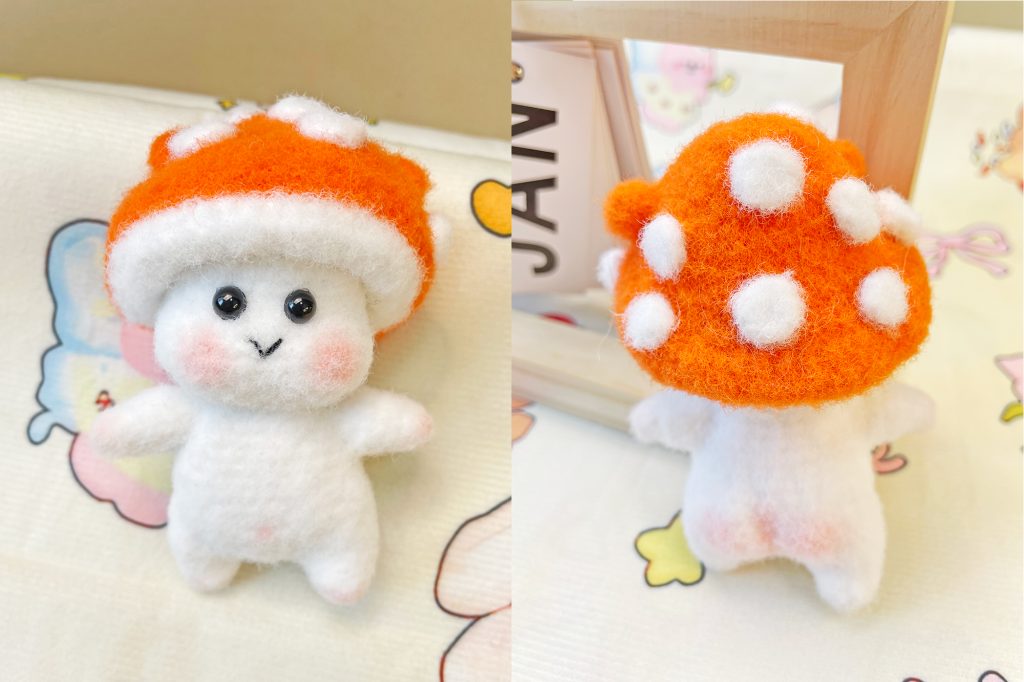
| Attach them evenly onto the Crocheted Mushroom Cap |
6、Crochet a pair of ears for the crocheted mushroom doll
| Magic Ring 3ch, 4E, 3ch Slip stitch into the magic ring |
#CuteMushroomAmigurumi #EasyMushroomCrochet #BeginnerAmigurumi #StressReliefCrochet #CozyCrochet #ChubbyMushroomPlush



Leave a Reply