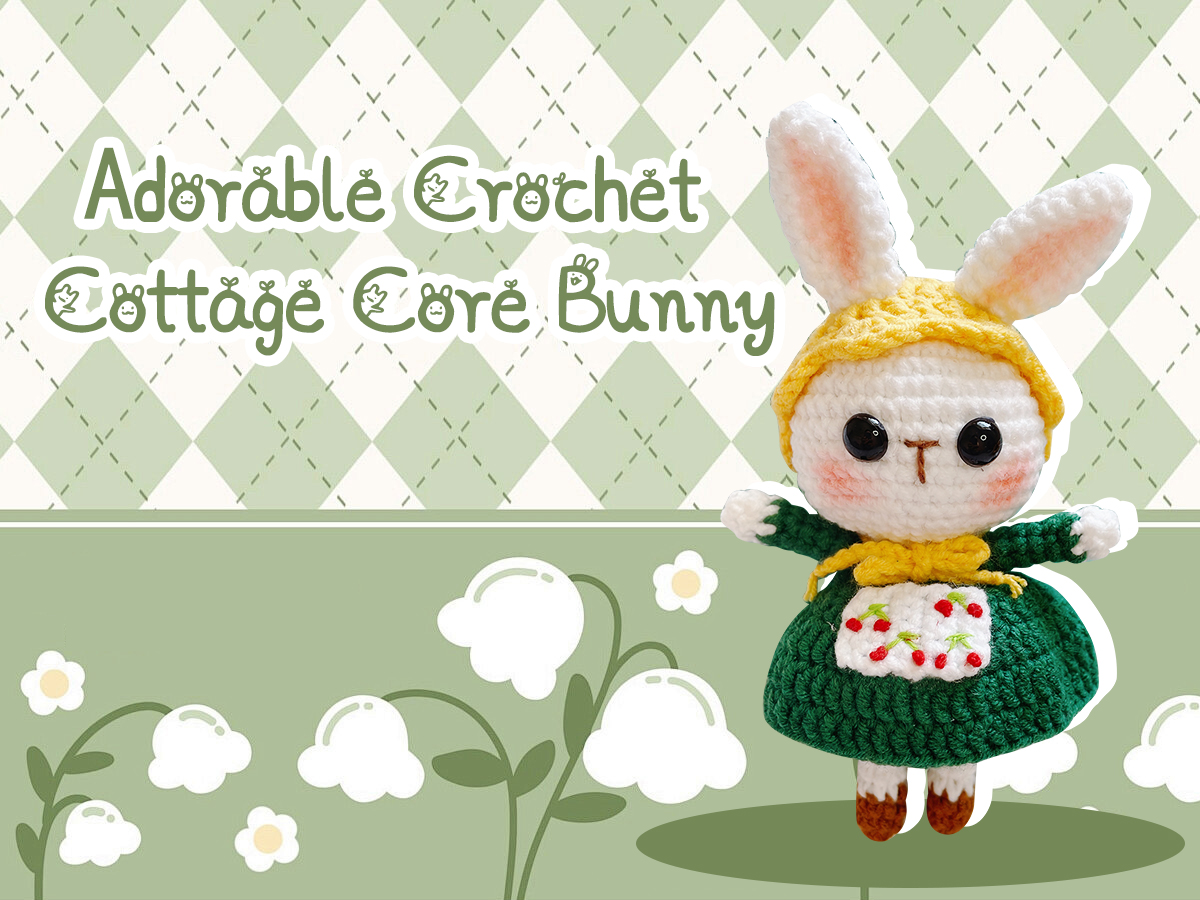
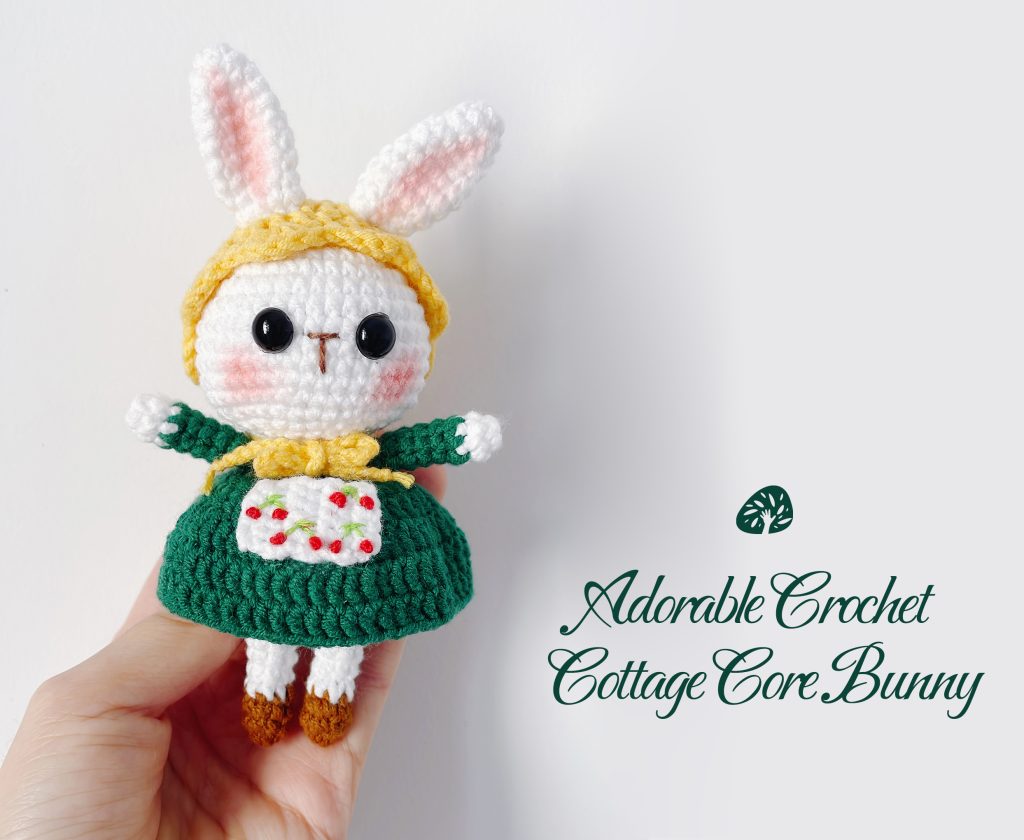
There’s something magical about the simplicity of handmade treasures. Meet this little cottage core bunny – your new dose of comfort and charm! With its soft, earthy tones and delicate details, it’s like holding a piece of the countryside in your hands.
This free cottage core bunny crochet pattern will guide you step by step to create an adorable amigurumi bunny dressed in a sweet skirt and matching hat. Whether it’s perched on your shelf, nestled in your knitting basket, or gifted to someone special, this bunny is here to remind you of life’s sweet, slow moments. Perfect for rainy days, cozy nights, or whenever you need a little hug from nature.
Tag your crafty friends who’d love this! Who else is ready to crochet their way into a cottage core dream?
Stitch Key (Beginner Friendly)
- X = sc (single crochet)
- V = 2 sc in same stitch (increase)
- A = single crochet decrease (sc 2tog)
- T = hdc (half double crochet)
- F = dc (double crochet)
- FV = 2 dc in same stitch
- ch = chain stitch
- sl st = slip stitch
- K = skip stitch
- BLO = work in back loops only
- FLO = work in front loops only
- () = repeat stitch group
Note: Start each round with ch, end with sl st. These two stitches do not count toward total stitches.
Tools & Materials
- Polyfill stuffing
- 4-ply yarn
- 2.0 mm crochet hooks
Step-by-Step: Cottage Core Bunny Crochet Pattern
Follow this cottage core bunny crochet pattern round by round.
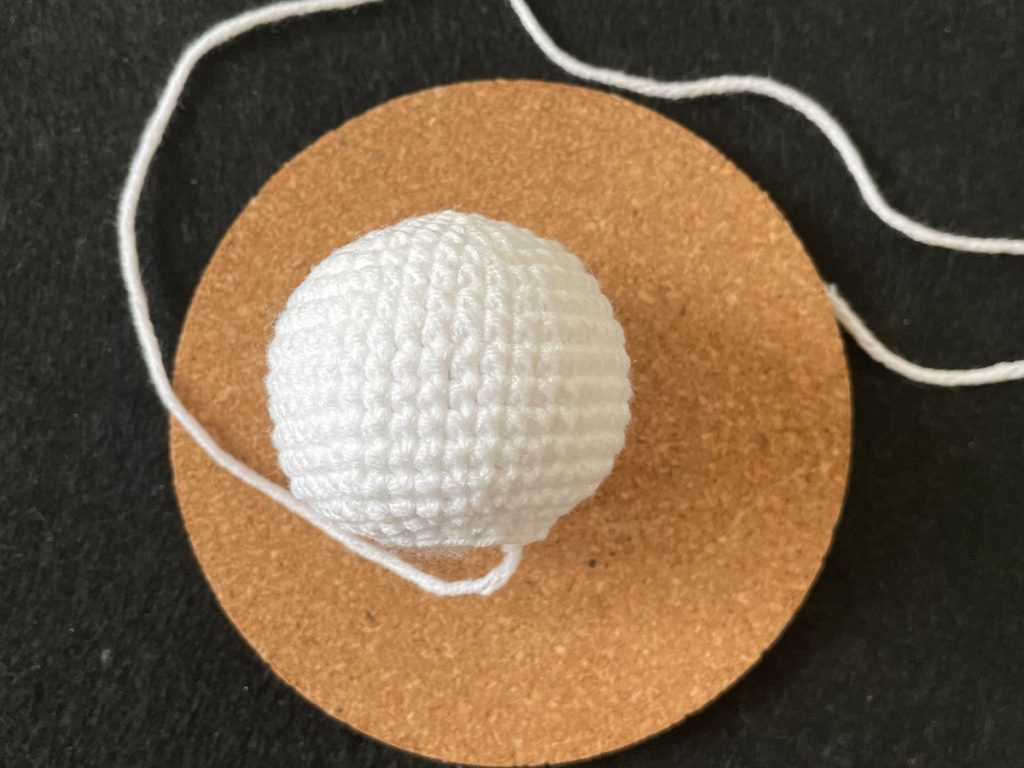
① Crochet the head
| Row | Stitch | Total stitch |
| R1 | Magic Ring 6X | 6 |
| R2 | 6V | 12 |
| R3 | 6(X,V) | 18 |
| R4 | 6(X, V, X) | 24 |
| R5 | 6(3X,V) | 30 |
| R6 | 6(2X, V, 2X) | 36 |
| R7 | 6(5X,V) | 42 |
| R8~R13 | 42X | 42 |
| R14 | 2 (19X, A) | 40 |
| R15 | 8 (3X, A) | 32 |
| R16 | 8 (X, A, X) | 24 |
| R17 | 8 (X, A) | 16 |
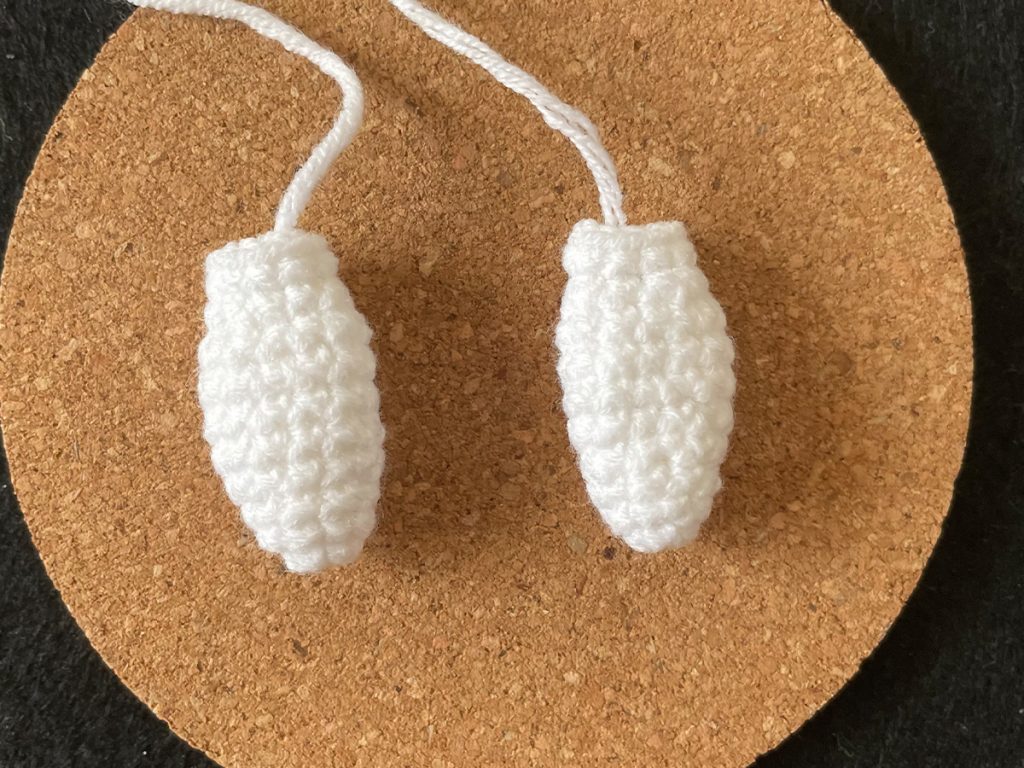
② Crochet the hands *2
| Row | Stitch | Total stitch |
| R1 | Magic Ring 7X | 7 |
| R2 | 7X | 7 |
| R3~R8 | 7X | 7 |
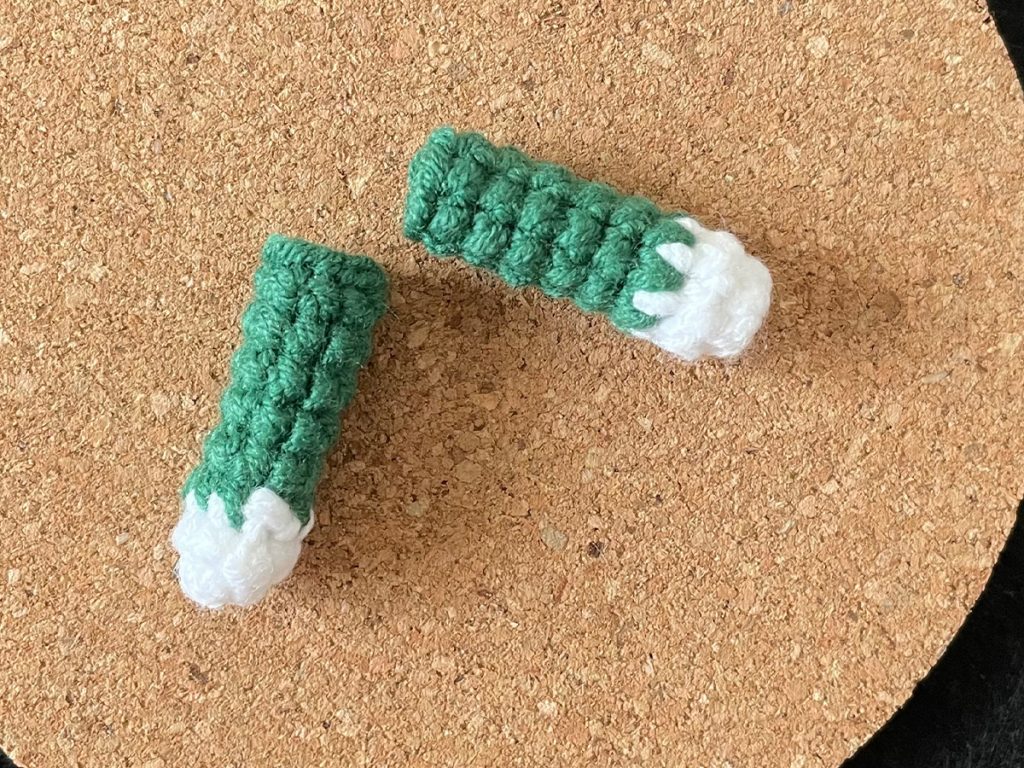
③ Crochet the leg and the body
| Row | Stitch | Total stitch |
| R1 | Magic Ring 7X | 7 |
| R2~R3 | 7X | 7 |
| R4~R9 | Change to white yarn,7X | 7 |
| Break the yarn of the first leg. Don’t break the yarn of the second leg. Crochet 3ch on the second leg to connect it to the first leg. | ||
| R10 | 7X, 3X(on the ch),7X, 3X | 20 |
| R11 | V, 18X, V | 22 |
| R12 | V, 20X, V | 24 |
| R13 | V,22X, V | 26 |
| R14~R15 | 26X | 26 |
| R16 | Change the yarn,26X | 26 |
| R17 | 2 (11X, A) | 24 |
| R18 | blo,24X | 24 |
| R19 | 6 (2X, A) | 18 |
| R20 | 2 (7X, A) | 16 |

④ Crochet the skirt
| Row | Stitch | Total stitch |
| Crochet in the back loops of Round 18 (Hold the rabbit upside – down to crochet the skirt). | ||
| R1 | flo 12(F, FV) | 36 |
| R2 | 36F | 36 |
| R3 | 12 (2F, FV) | 48 |
| R4~R5 | 48F | 48 |
| the patches on the skirt | Chain 6 stitches, then crochet 5 single crochets into the second stitch from the hook. Crochet back and forth in rows for 8 rows. Finally, embroider a pattern on it. |
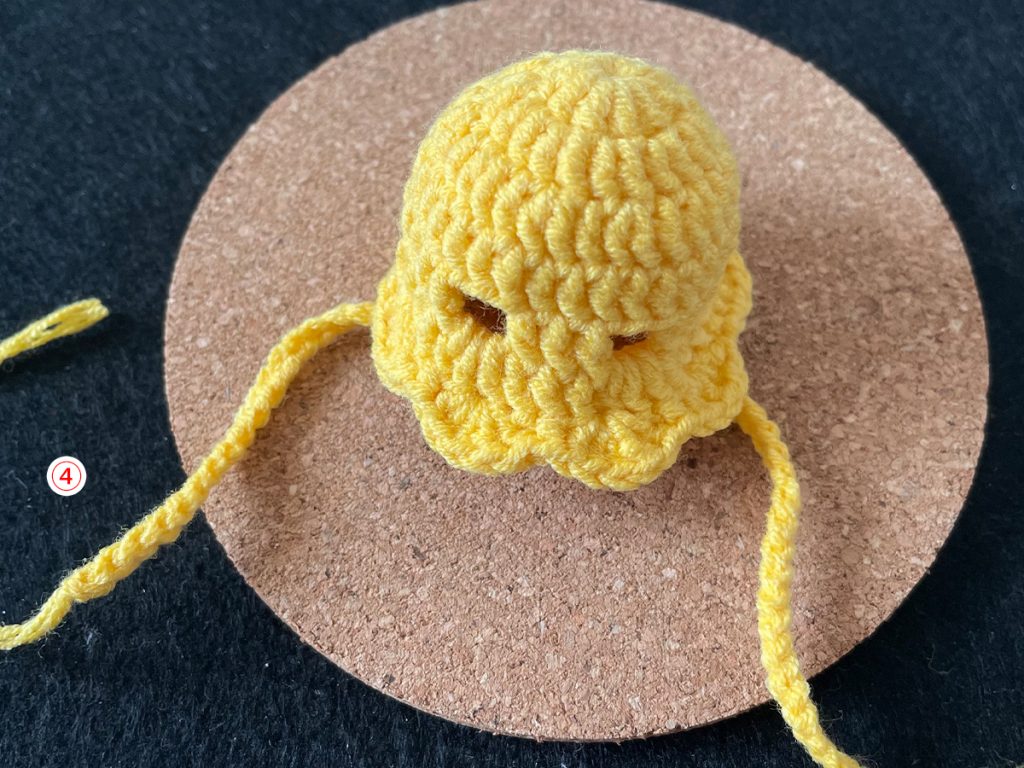
⑤ Crochet a hat
| Row | Stitch | Total stitch |
| R1 | Magic Ring 10F | 10 |
| R2 | 10FV | 20 |
| R3 | 10 (F, FV) | 30 |
| R4 | 30F | 30 |
| R5 | 6X, 6F, 2ch, K2, 3F, 2ch, K2, 6F, 5X | |
| R6 | 6X, 6F, 3F(In the skipped stitch holes of the previous round),3F,3F(In the skipped stitch holes of the previous round) ,6F,5X | |
| R7 | 6SL, 5(5F, K, X, K), (5F), 5SL | |
| Crochet two hat straps onto the 6th stitch and the 29th stitch. Each strap should be 28 chain stitches long. Then, simply tie a bow in front of the neck. |
⑥ Crochet the ears
| Row | Stitch | Total stitch |
| R1 | Magic Ring 6X | 6 |
| R2 | 3 (X, V) | 9 |
| R3 | 9X | 9 |
| R4 | 3 (2X, V) | 12 |
| R5~R8 | 12X | 12 |
| R9 | 3 (2X, A) | 9 |
| R10 | 9X | 9 |
#CottageCoreBunnyCrochetPattern #CottageCoreBunny #CrochetBunny #AmigurumiPattern #FreeCrochetPattern #SpringDecor


Leave a Reply