
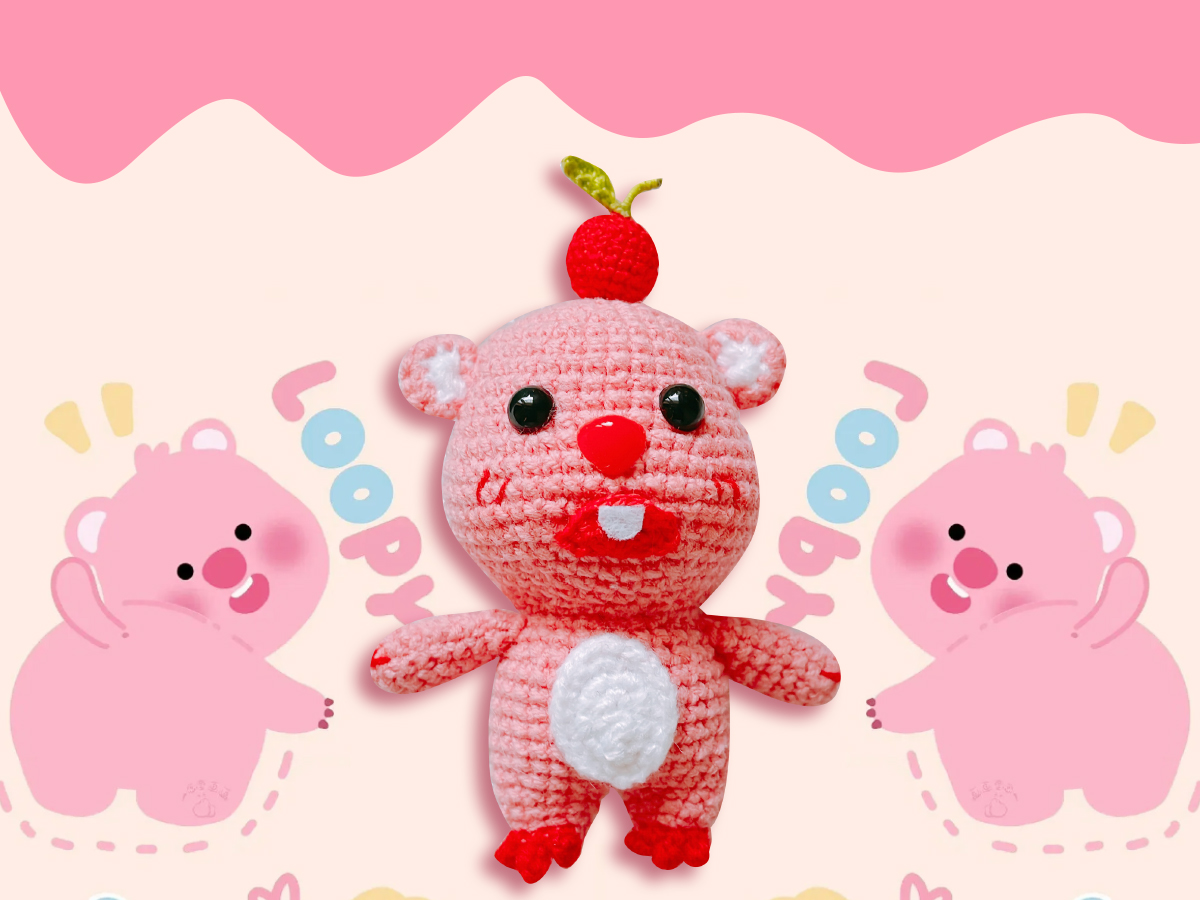
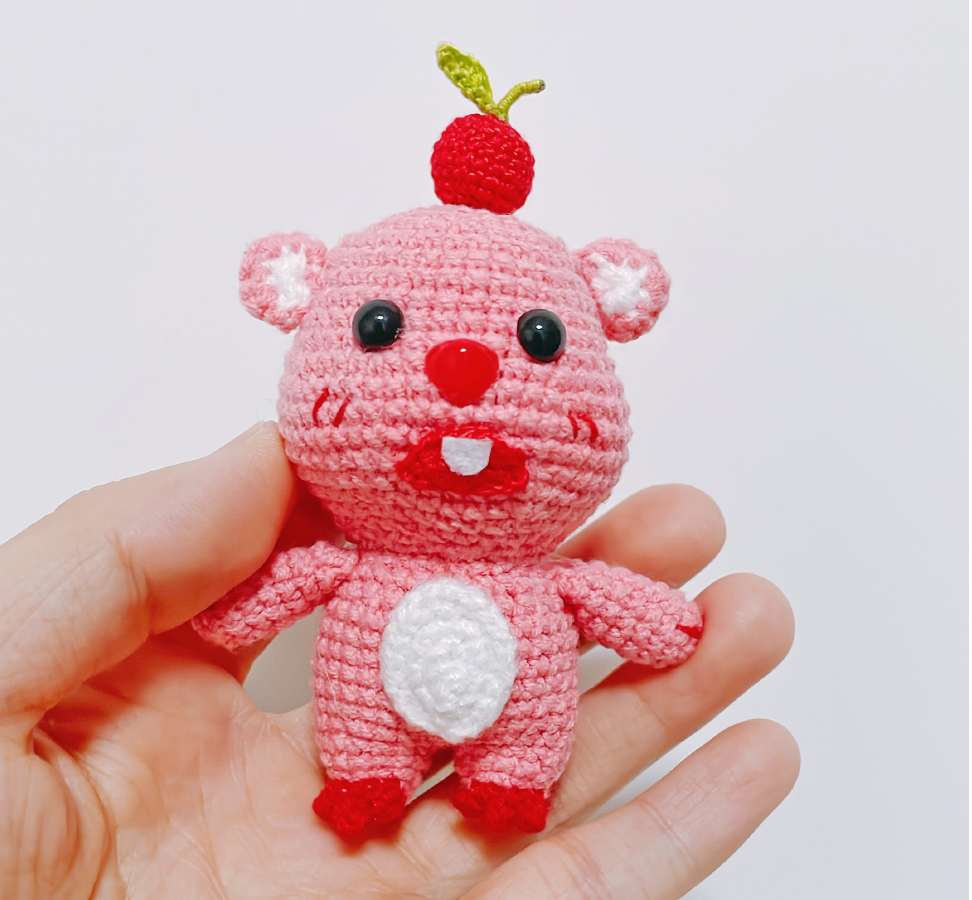
Loopy Crochet Pattern lets you bring the charm of everyone’s favorite pink beaver to life with this free amigurumi design. This full step-by-step tutorial walks you through crafting your own Loopy, featuring her soft squishy round face, distinctive little hair tuft, and irresistibly cute buck teeth. Ideal for fans of this beloved animated character and lovers of cuddly handmade toys alike, the pattern is beginner-friendly while remaining engaging for seasoned crocheters.
Why You’ll Love This Loopy Amigurumi Pattern
This Loopy crochet pattern is more than just a set of instructions—it‘s an invitation to create a little piece of joy. Whether you’re making it for yourself, as a gift, or to add a pop of cuteness to your space, this project offers a rewarding and relaxing crafting experience.
- Beginner-Friendly: Uses basic crochet stitches (single crochet, increases, decreases) with clear, row-by-row instructions.
- Quick Project: Complete your Loopy in approximately 2-3 hours, making it an ideal weekend craft.
- Mindful Making: The repetitive stitch rhythm promotes relaxation and a sense of calm—perfect for stress relief.
- Customizable: Add your own touches with different yarn colors, accessories, or even a tiny teacup to complete Loopy‘s cozy vibe.
Stitch Key (Beginner Friendly)
- X = sc (single crochet)
- V = 2 sc in same stitch (increase)
- A = single crochet decrease (sc 2tog)
- M = 3 sc together
- W = 3 sc in same stitch
- T = hdc (half double crochet)
- F = dc (double crochet)
- FV = 2 dc in same stitch
- E = treble crochet
- ch = chain stitch
- sl st = slip stitch
- K = skip stitch
- BLO = work in back loops only
- FLO = work in front loops only
- () = repeat stitch group
Note: Start each round with ch, end with sl st. These two stitches do not count toward total stitches.
Tools & Materials
- Polyfill stuffing
- 2-ply yarn
- 1.6 mm crochet hooks
How to Use Your Finished Loopy
Once completed, your crochet Loopy amigurumi is full of possibilities:
- Desk Companion: Add a splash of joy to your workspace for a daily dose of cuteness.
- Comfort Buddy: Its soft, squishy texture makes it a comforting companion during tough days.
- Thoughtful Gift: Package it with a handwritten note for a heartfelt, handmade surprise.
- Display Piece: Showcase it on your shelf, couch, or bed as a charming decorative accent.
Stitch Your Own Little Piece of Happiness
This Loopy crochet tutorial is more than just a pattern—it’s an invitation to slow down, create, and connect with the wholesome, joyful energy of one of the internet’s most beloved characters. Whether you‘re a busy professional, a student, or simply someone who loves a good dose of cuteness, your crochet Loopy is here to remind you to take a breath, enjoy the small moments, and share a little love.
Ready to start? Scroll down for the complete step-by-step instructions and crochet your own Loopy friend today!
Step-by-Step: Loopy Crochet Pattern
Follow this Loopy crochet pattern round by round to create your own pink beaver.
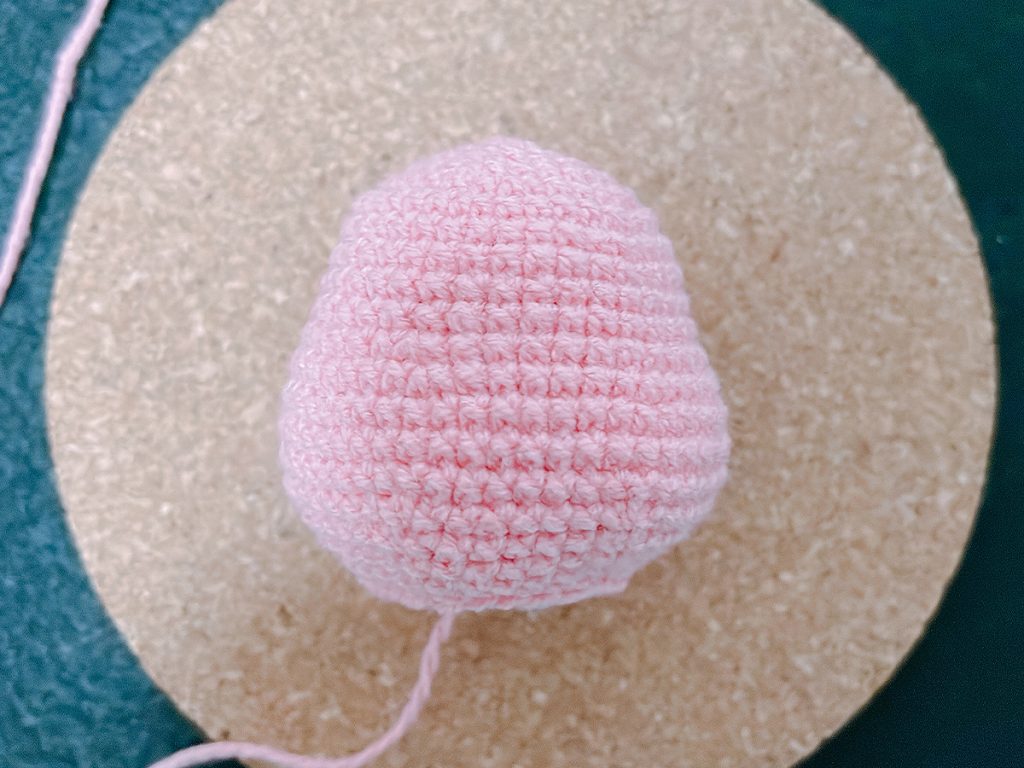
① Crochet the head
| Row | Stitch | Total stitch |
| R1 | Magic Ring 6X | 6 |
| R2 | 6V | 12 |
| R3 | 6 (X ,V) | 18 |
| R4 | 6 (X, V, X) | 24 |
| R5 | 6 (3X, V) | 30 |
| R6 | 6 (2X, V, 2X) | 36 |
| R7~R10 | 36X | 36 |
| R11 | 8X, 2 (V, 2X), V, 6X, V, 2 (2X, V), 8X | 42 |
| R12 | 9X, 3 (V, 3X), 3 (3X, V),9X | 48 |
| R13~R15 | 48X | 48 |
| R16 | 9X, A, 8X, A, 6X, A, 8X, A, 9X | 44 |
| R17 | 9X, 3(A, 6X),A, 9X | 40 |
| R18 | 9X, A, 4X, A, 6X, A, 4X, A, 9X | 36 |
| R19 | 6 (2X, A, 2X) | 30 |
| R20 | 6 (3X, A) | 24 |
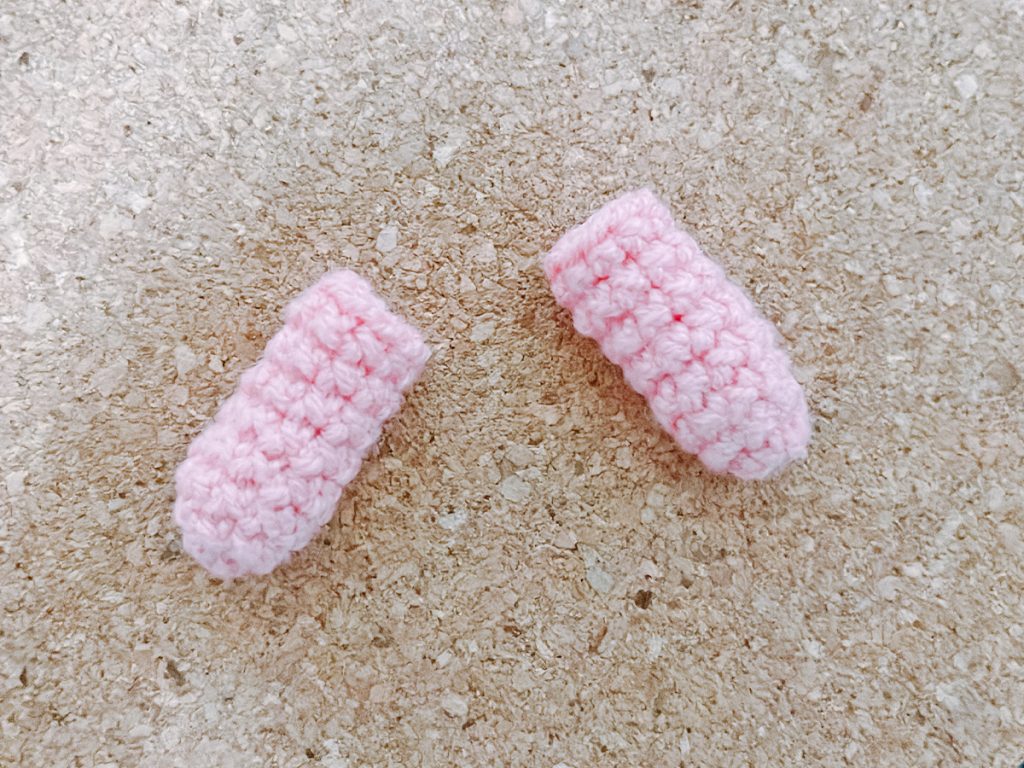
② crochet the hands*2
| Row | Stitch | Total stitch |
| R1 | Magic Ring 6X | 6 |
| R2 | 3 (X, V) | 9 |
| R3~R8 | 9X | 9 |
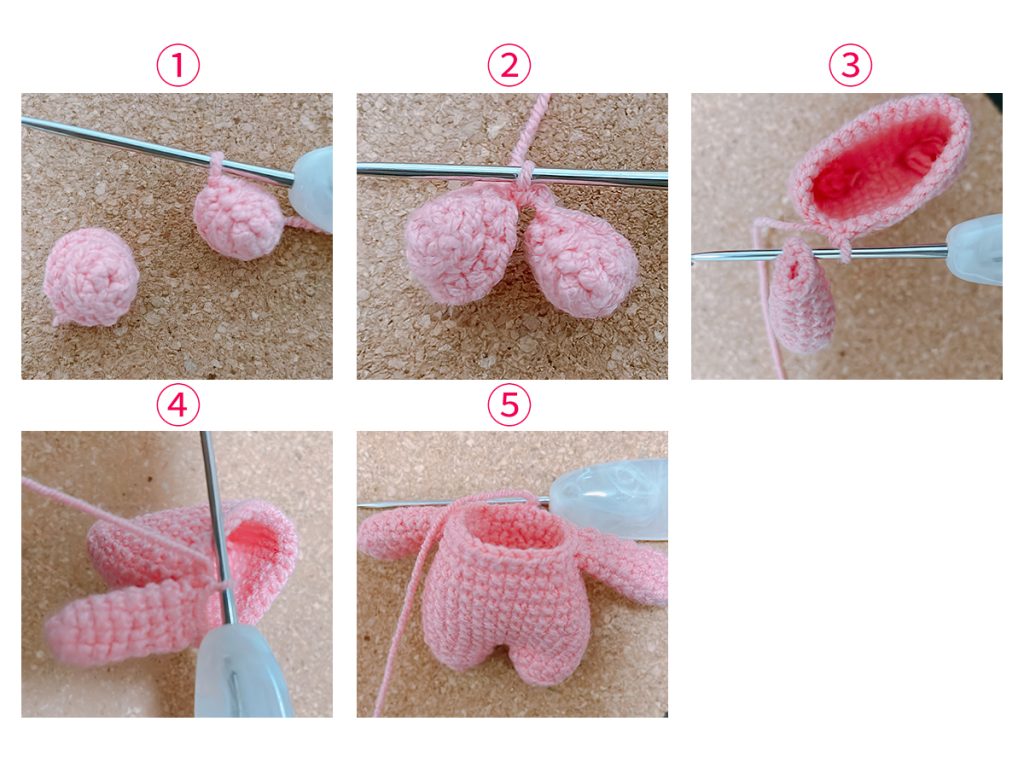
③ Crochet the legs*2 and body
| Row | Stitch | Total stitch |
| R1 | Magic Ring 6X | 6 |
| R2 | 3 (X, V) | 9 |
| R3 | blo 3(X, V, X) | 12 |
| R4 | 12X | 12 |
| Break the yarn of the first leg. Don’t break the yarn of the second leg. Crochet 2 chain stitches on the second leg to connect it to the first leg. | ||
| R5 | 12X, 2X(on the ch), 12X,2X(on the ch) | 28 |
| R6 | 4 (3X, V, 3X) | 32 |
| R7~R12 | 32X | 32 |
| R13 | 4 (3X, A, 3X) | 28 |
| R14 | 28X(Connect the hands,When crocheting, attach the fourth stitch to the first arm. Then, attach the eleventh stitch to the second arm.) | 28 |
| R15 | 4 (5X, A) | 24 |
| Crochet the claws | Finally, crochet in the back loops of Round 3. Chain 3 stitches, then turn and slip stitch 2 stitches starting from the second chain from the hook. Slip stitch into the next stitch. Repeat this process 3 times to form 3 claws. |
④ Crochet the ears *2
| For the inner ear, use white yarn. Magic Ring 6X, NO SL |
| For the outer ear, use pink yarn. Magic Ring 6X, NO SL crochet together with the inner ear, crochet 3(X, V) |
⑤ Crochet the belly
| Row | Stitch |
| R1 | 4ch, Crochet into the second stitch from the last. 2X, W, X, V |
| R2 | V, X, 3V, X, 2V |
| R3 | V, 4X, V, FV, V, 4X, 2V |
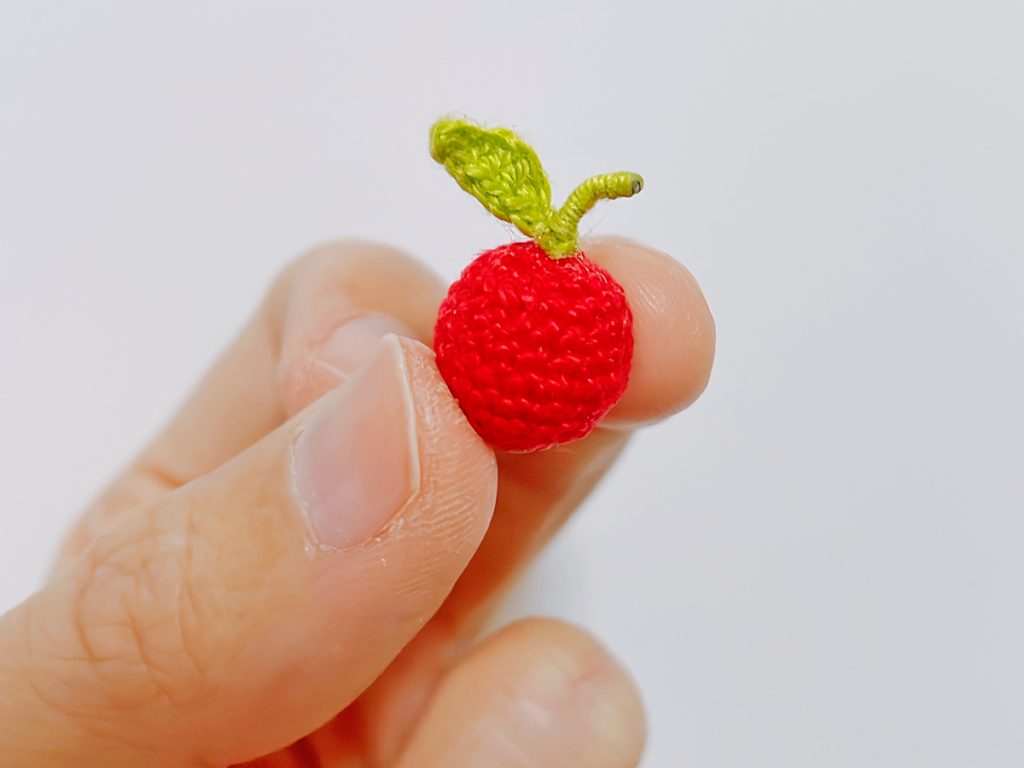
⑥ Crochet a small apple
| Row | Stitch |
| R1 | Magic Ring 6X |
| R2 | 6V |
| R3 | 6 (X, V) |
| R4~R7 | 18X |
| R8 | 6 (X, A) |
| R9 | 12X |
| R10 | 6A |
Apple leaves
| 7ch, Crochet into the second stitch from the last: SL, X, T, F, T, X |
#LoopyCrochetPattern #LoopyCrochet #CrochetLoopy #PinkBeaverAmigurumi #FreeCrochetPattern #CharacterAmigurumi #HandmadeGift #DeskCompanion

Leave a Reply