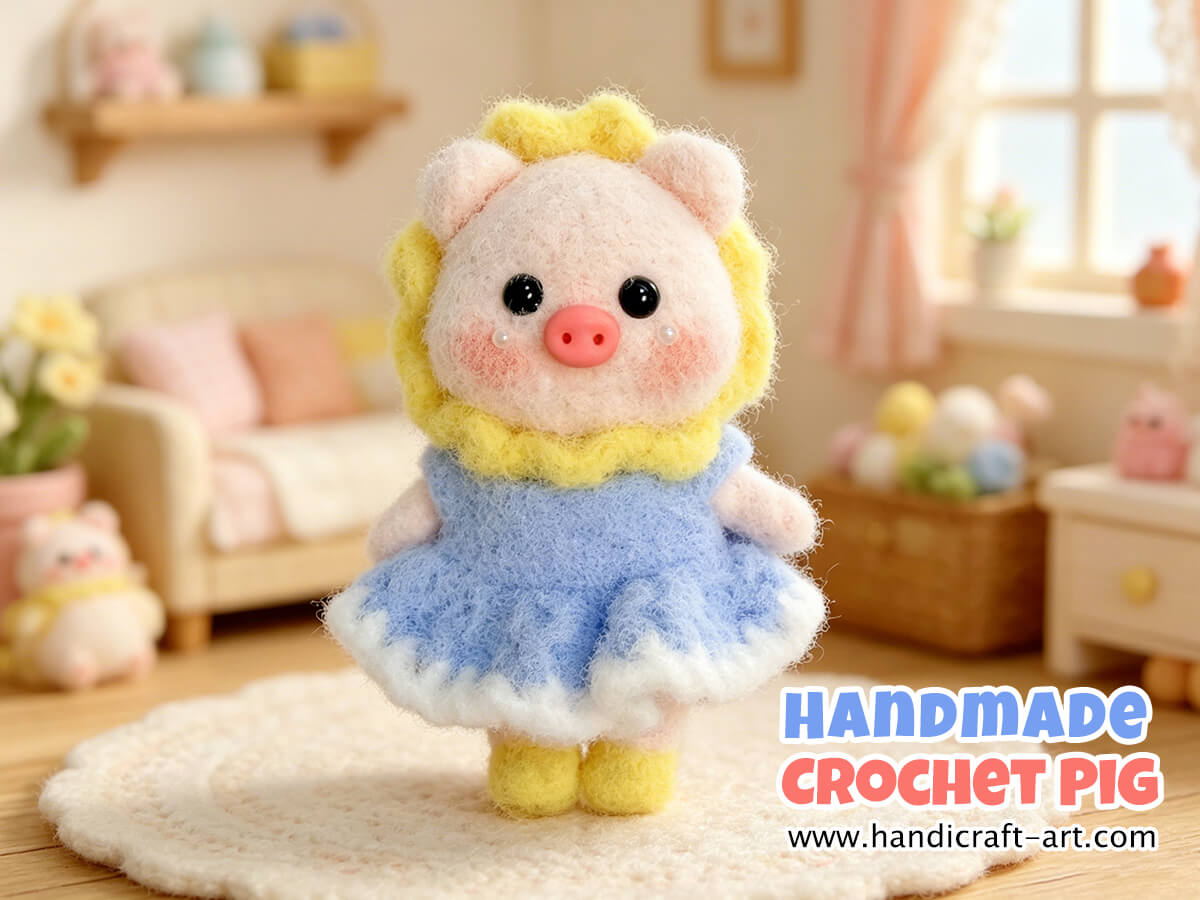
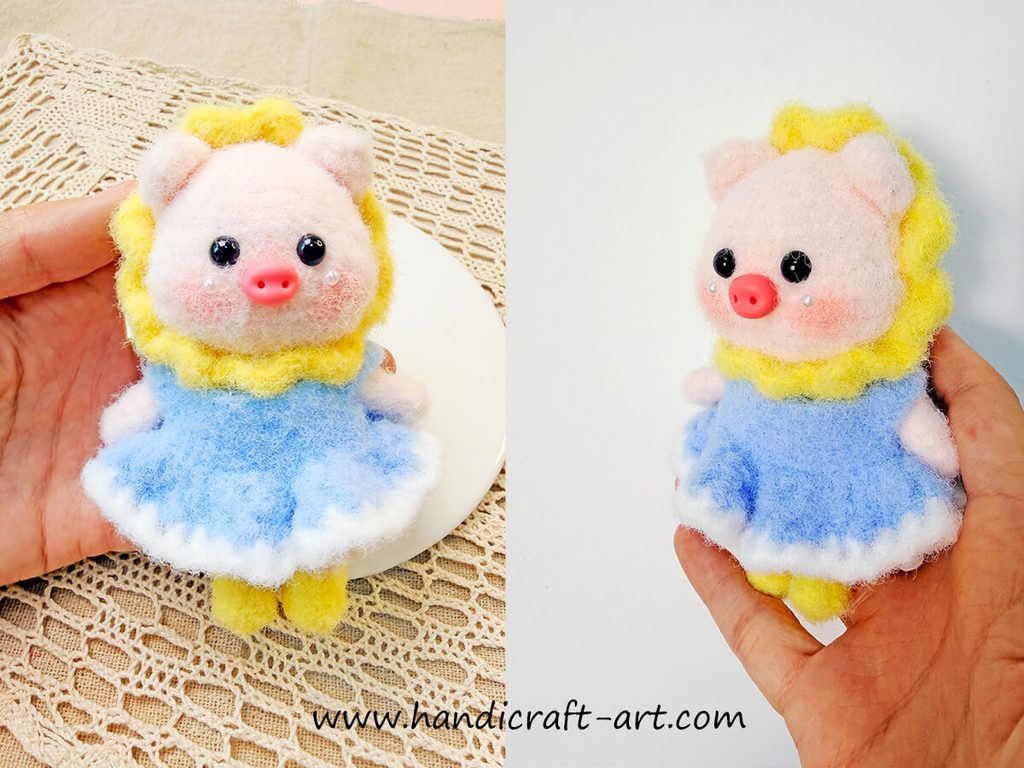
Handmade crochet pig brings more than cuteness – it brings heart. Each stitch carries your time and care, turning simple yarn into a rosy‑eared, curly‑tailed little friend.
Handmade crochet pig shines as a holiday gift. Tucked into a Christmas stocking or tied with a bow for Easter, its plump face and button eyes feel personal and timeless – a gift that speaks to the joy of giving from the heart.
This season, give a handmade crochet pig. Small in size, big in meaning – made slowly, given warmly, and remembered always.
Stitch Key (Beginner Friendly)
- X = sc (single crochet)
- V = 2 sc in same stitch (increase)
- W=3 sc in same stitch
- A = single crochet decrease (sc 2tog)
- T = hdc (half double crochet)
- F = dc (double crochet)
- E = treble crochet
- ch = chain stitch
- sl st = slip stitch
- () = repeat stitch group
- blo = work in back loops only
Note: Start each round with ch, end with sl st. These do not count toward total stitches.
Tools & Materials
- wool felting yarn
- 2.0 mm crochet hook
- Polyfill stuffing
- Nose accessory dimensions: 8*10mm
- Eye accessory dimensions: 6mm
Handmade crochet pig by step and step
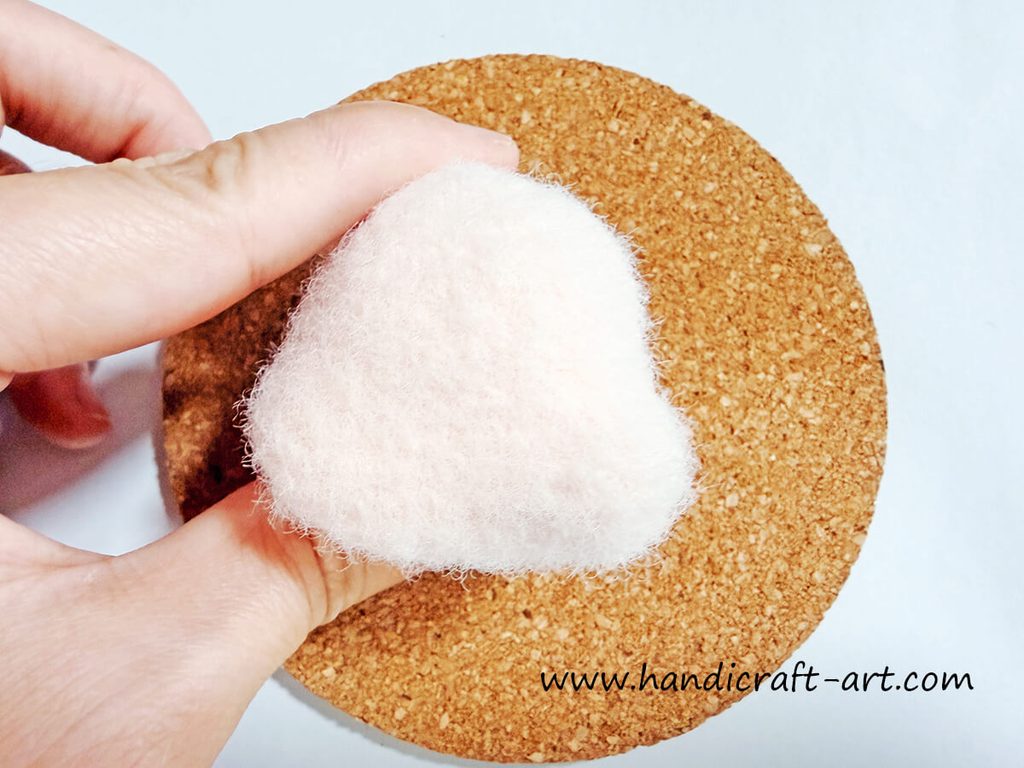
1、The head of the pig
| Row | Stitch | Total Stitch |
| R1 | Magic Ring 6X | 6 |
| R2 | 6V | 12 |
| R3 | 6 (X, V) | 18 |
| R4 | 6 (X, V, X) | 24 |
| R5 | 6 (3X, V) | 30 |
| R6 | 6 (2X, V, 2X) | 36 |
| R7~R9 | 36X | 36 |
| R10 | 11X, 4V, 6X, 4V, 11X | 44 |
| R11~R14 | 44X | 44 |
| R15 | 11X, 4A, 6X, 4A, 11X | 36 |
| R16 | 6 (2X, A, 2X) | 30 |
| R17 | 6 (3X, A) | 24 |
| R18 | 6 (X, A, X) | 18 |
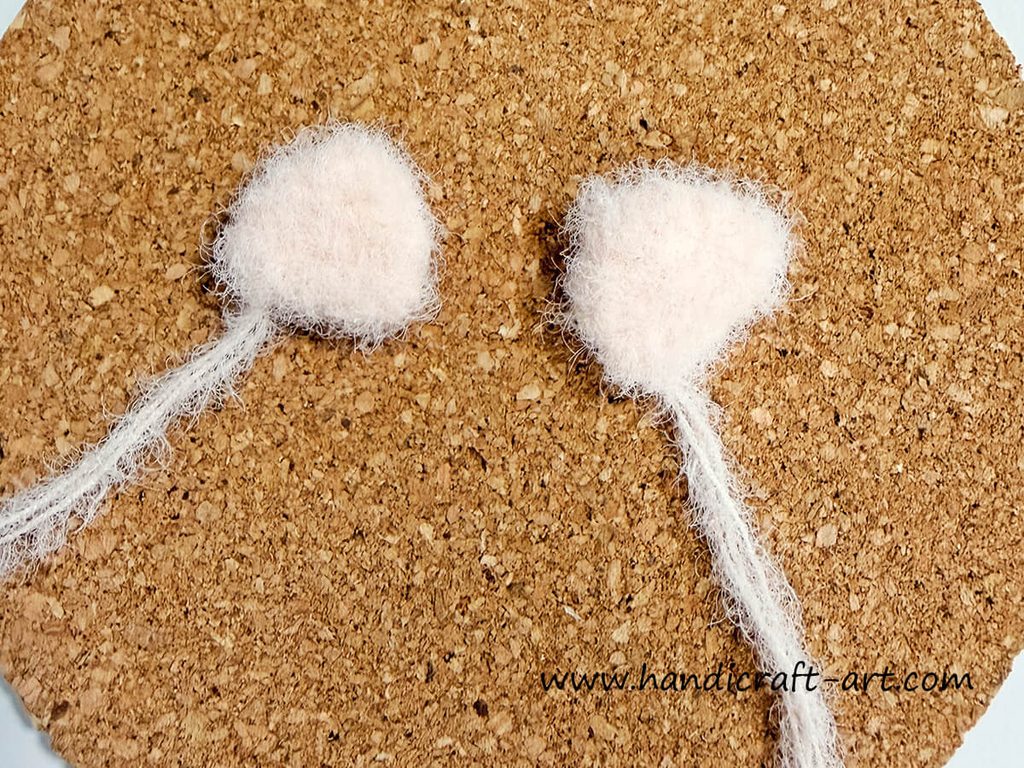
2、The ears of the pig *2
| Row | Stitch | Total Stitch |
| R1 | Magic Ring 5X | 5 |
| R2 | 5V | 10 |
| R3 | 10X | 10 |
| R4 | Fold both sides in half and crochet 5X (single crochet). Leave a long tail for sewing. | 5 |
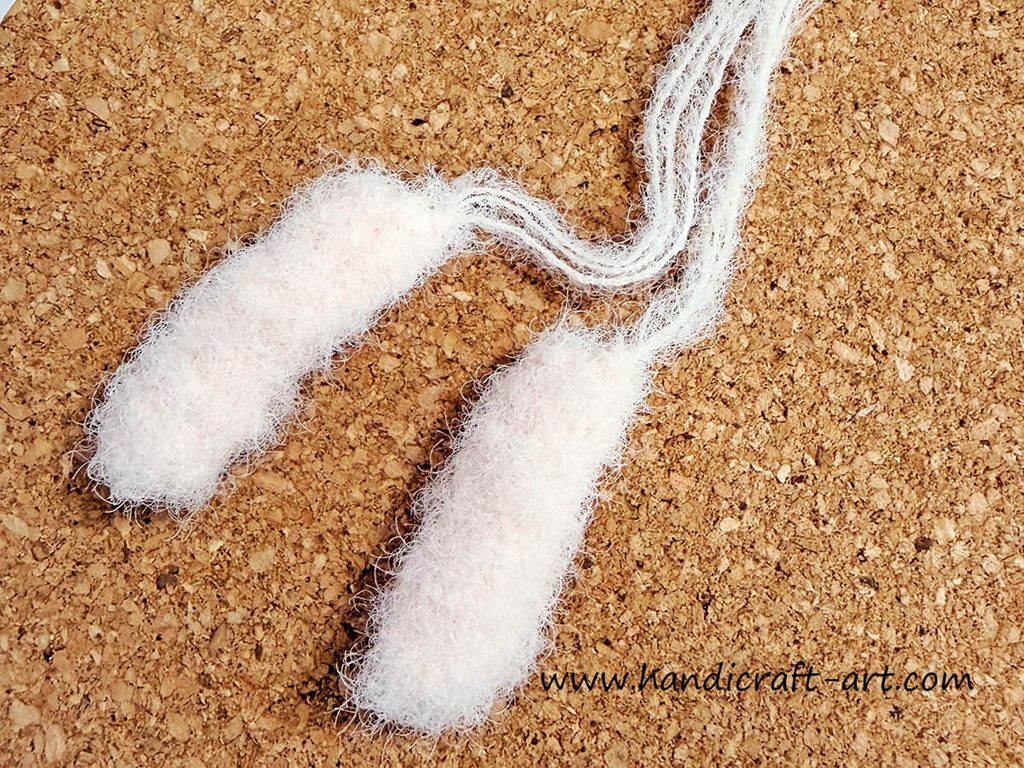
3、The arms of the pig *2
| Row | Stitch | Total Stitch |
| R1 | Magic Ring 6X | 6 |
| R2~R7 | 6X | 6 |
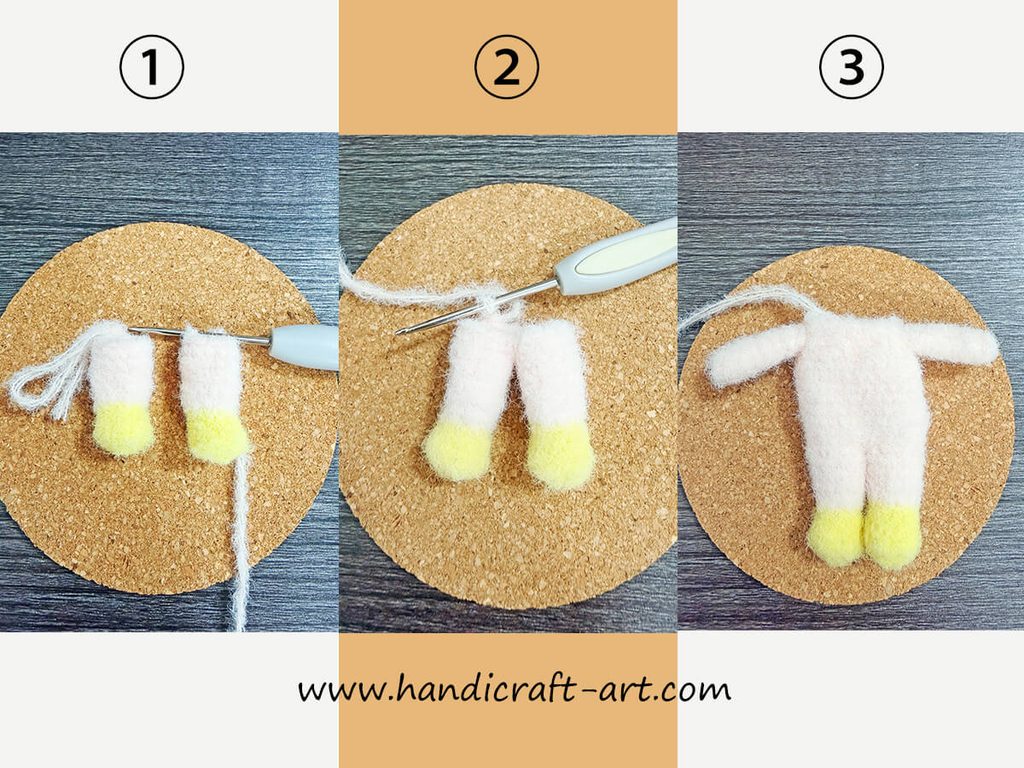
4、Crochet the pig’s feet and body
| Row | Stitch | Total Stitch |
| R1 | Yellow yarn Magic Ring 6X | 6 |
| R2 | 6V | 12 |
| R3 | blo: 12X | 12 |
| R4 | 3X, 3A, 3X | 9 |
| R5 | Pink yarn 9X | 9 |
| R6 | 3 (2X, V) | 12 |
| R7~R10 | 12X Crochet the second leg, do NOT cut the yarn for the second leg | 12 |
| R11 | Join the two legs 12X + 12X Align feet properly before joining, crochet at appropriate position. | 24 |
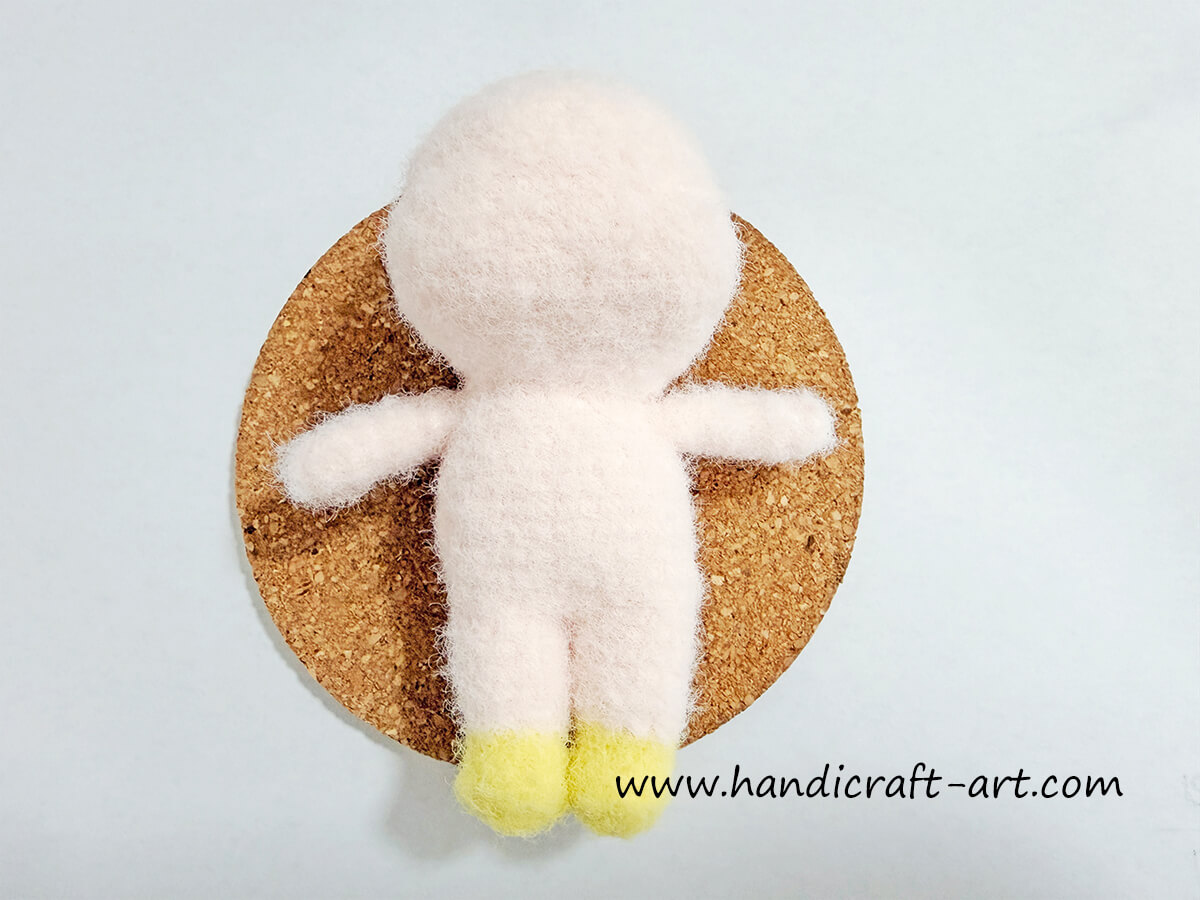
| R12 | 6 (3X, V) | 30 |
| R13~R18 | 30X | 30 |
| R19 | 6 (3X, A) | 24 |
| R20 | Attach both arms together while crocheting. Flatten each arm to 3 stitches, then crochet them onto the body at a suitable position. 24X | 24 |
| R21 | 6 (X, A, X) | 18 |
5、Stitch all components together.
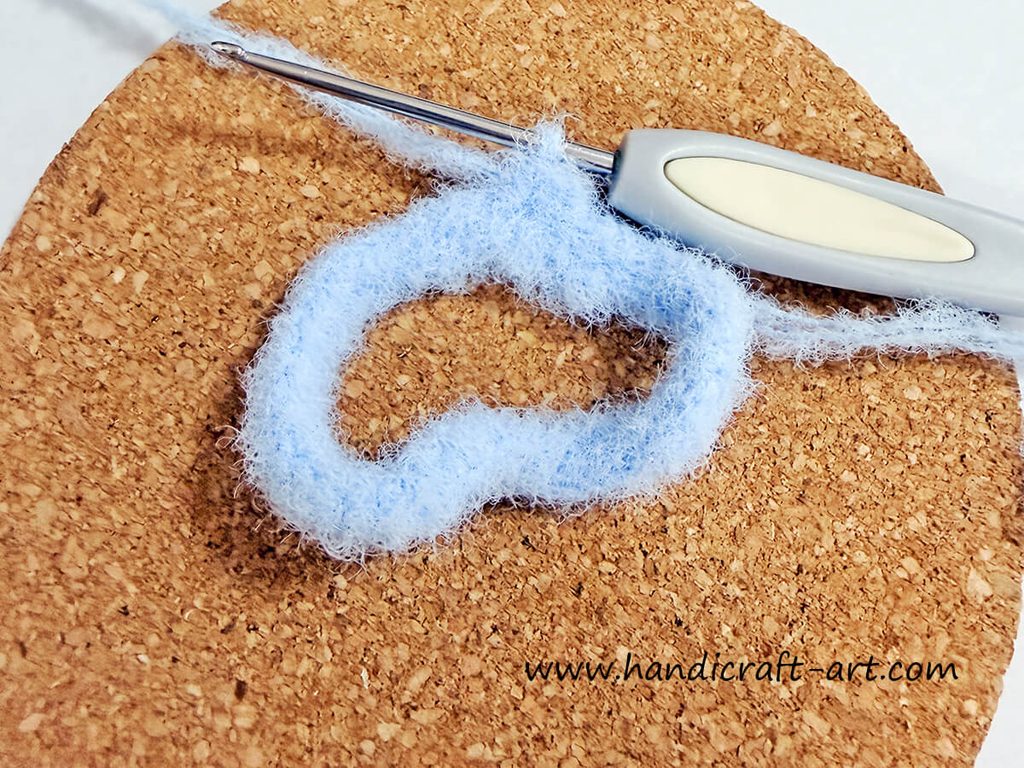
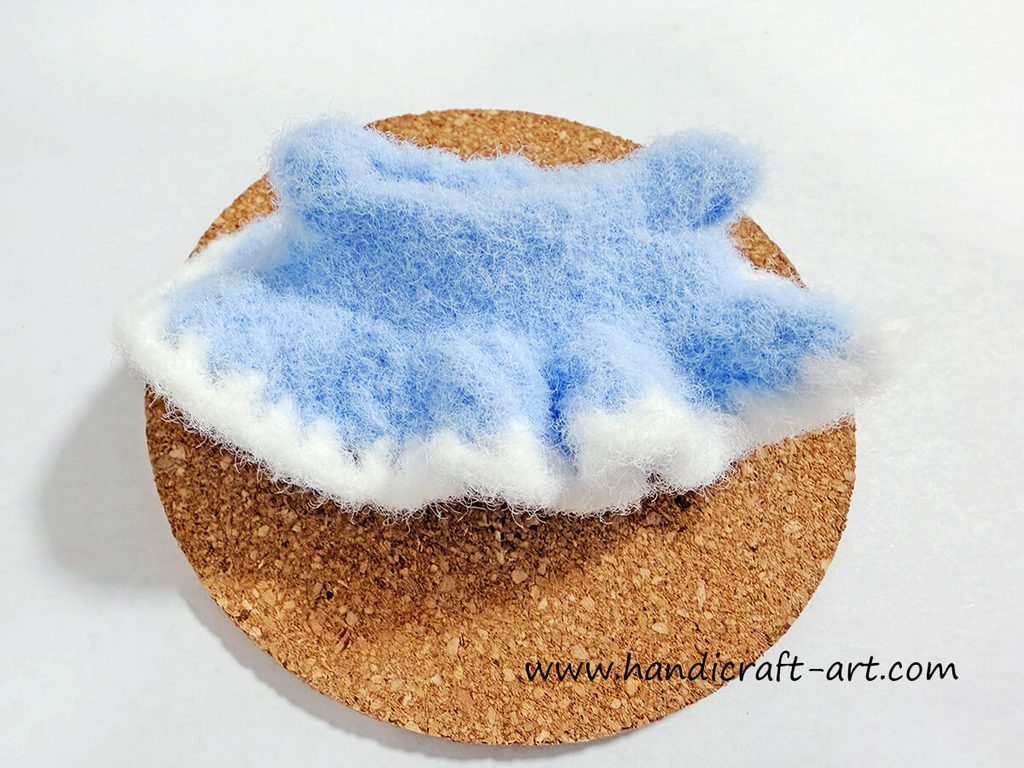
6、Crochet clothes for the pig doll
| Row | Stitch |
| R1 | Make 36 chain stitches, then slip stitch to join into a round. |
| R2 | 9 (3X, V) |
| R3 | 45X |
| R4 | 7X, 6ch, K8, 15X, K8, 6ch, 7X *Note:K8 = skip 8 stitches |
| R5 | 41X |
| R6 | F, 2ch Loop |
| R8 | F, 2ch, K2 *Note:K2 = skip 2 stitches |
| R9 | change white yarn F, 3ch, K2 |
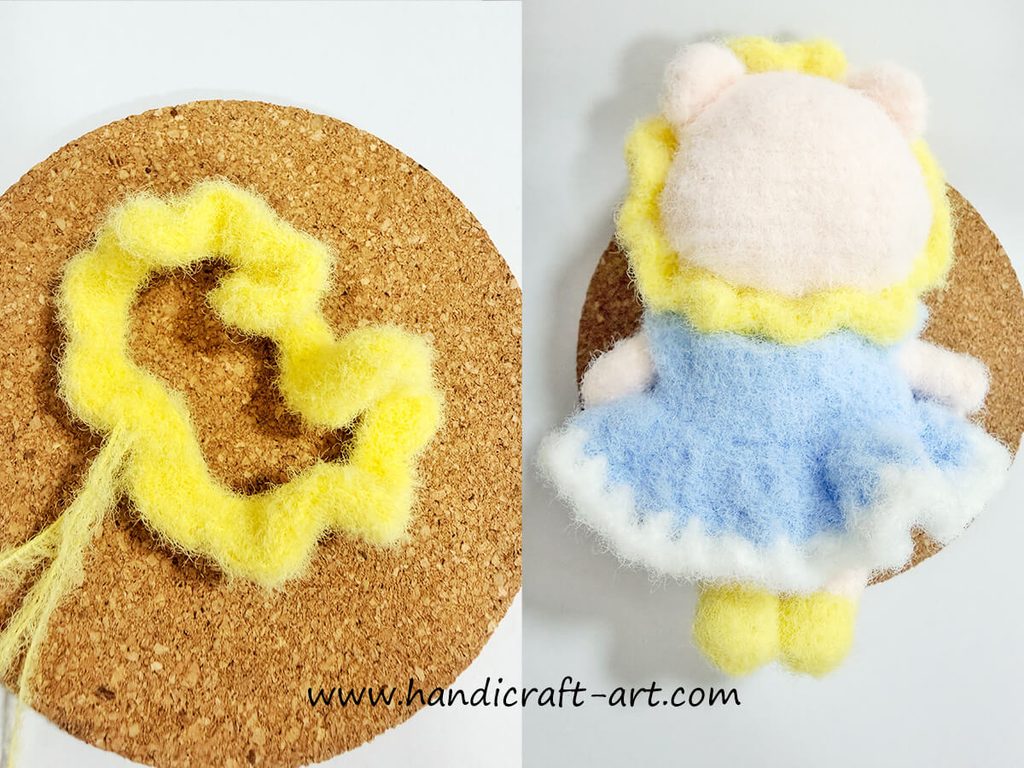
7、Crochet the head edging
| Row | Stitch |
| R1 | Make 48 chain stitches, then slip stitch to join into a round. |
| R2 | 12 (X,TFF,EE,FFT) |
8、Handmade Crochet Pig – Assembly Complete!
#crochetpigtutorial #amigurumipig #crochetpig #handmadecrochet #amigurumitutorial #crochetanimal #crochetplushie #pigtutorial #easypattern


Leave a Reply