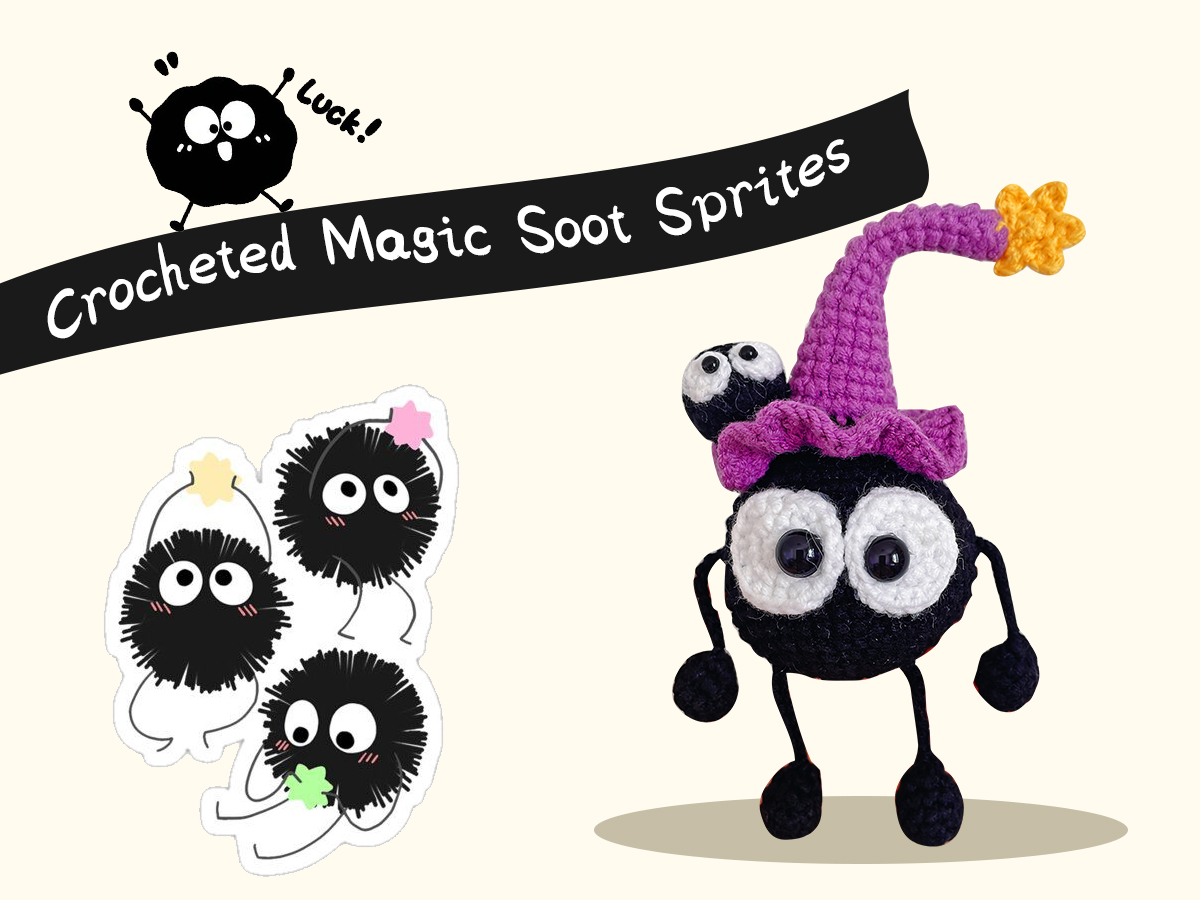
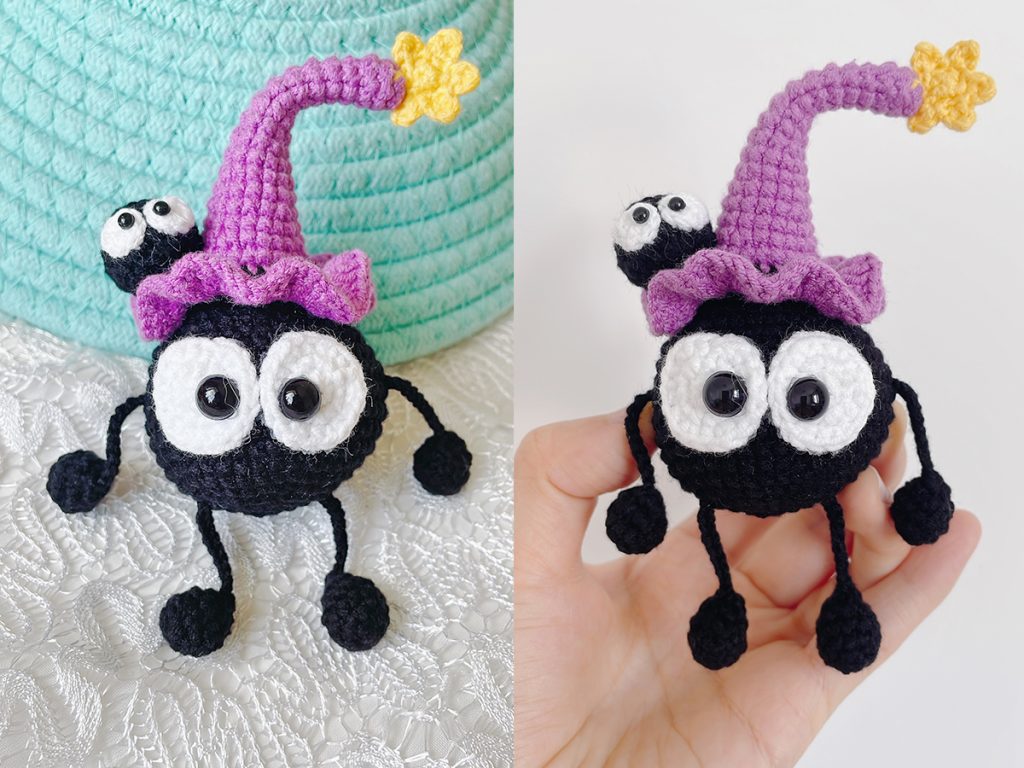
Stitchfire Crochet Coal Amigurumi celebrates the quiet magic of the humble coal ball. Dark and unassuming, this delicate crochet coal piece holds unexpected warmth: once capable of burning with bright fire, it now rests gently, its surface softened by time and touch. The Stitchfire Crochet Coal Amigurumi design plays on a beautiful contrast of softness and strength, enchantment and simplicity.
This free tutorial walks you step by step through making your own Stitchfire Crochet Coal Amigurumi — an enchanted glowing coal plush that fills any room with comfort and subtle whimsy. Whether you want a one-of-a-kind handmade gift or cozy shelf decor, this accessible amigurumi pattern suits both brand-new crocheters and seasoned makers.
On cold rainy afternoons, you may find yourself running your fingertips across stitches while resting your palm against the cool shape of your finished Stitchfire Crochet Coal Amigurumi. In these quiet moments of connection, a peaceful calm settles over you. The playful charm of its hat balances the grounded stillness of the coal figure, forming a curious yet deeply soothing harmony. Together, this charming crochet creation builds a tiny comforting world, reminding us that beauty and healing can emerge from the most unexpected pairings.
Stitch Key (Beginner Friendly)
- X = sc (single crochet)
- V = 2 sc in same stitch (increase)
- A = single crochet decrease (sc 2tog)
- M = 3 sc together
- W = 3 sc in same stitch
- T = hdc (half double crochet)
- F = dc (double crochet)
- FV = 2 dc in same stitch
- E = treble crochet
- ch = chain stitch
- sl st = slip stitch
- K = skip stitch
- BLO = work in back loops only
- FLO = work in front loops only
- () = repeat stitch group
Note: Start each round with ch, end with sl st. These two stitches do not count toward total stitches.
Tools & Materials
- Polyfill stuffing
- 4-ply yarn
- 2.0 mm crochet hooks
Step-by-Step: Crocheted Coal Amigurumi
① Crochet the main body of the coal ball.
| Row | Stitch |
| R1 | Magic Ring 6X |
| R2 | 6V |
| R3 | 6 (X, V) |
| R4 | 6 (X, V, X) |
| R5 | 6 (3X, V) |
| R6 | 6 (2X, V, 2X) |
| R7 | 36X |
| R8 | 6 (5X, V) |
| R9~R13 | 42X |
| R14 | 6 (5X,A) |
| R15 | 6 (2X, A, 2X) |
| R16 | 30X |
| R17 | 6 (3X,A) |
| R18 | 6 (X, A, X) |
| R19 | 6 (X, A) |
| Slip stitch to finish and leave a long end for sewing |
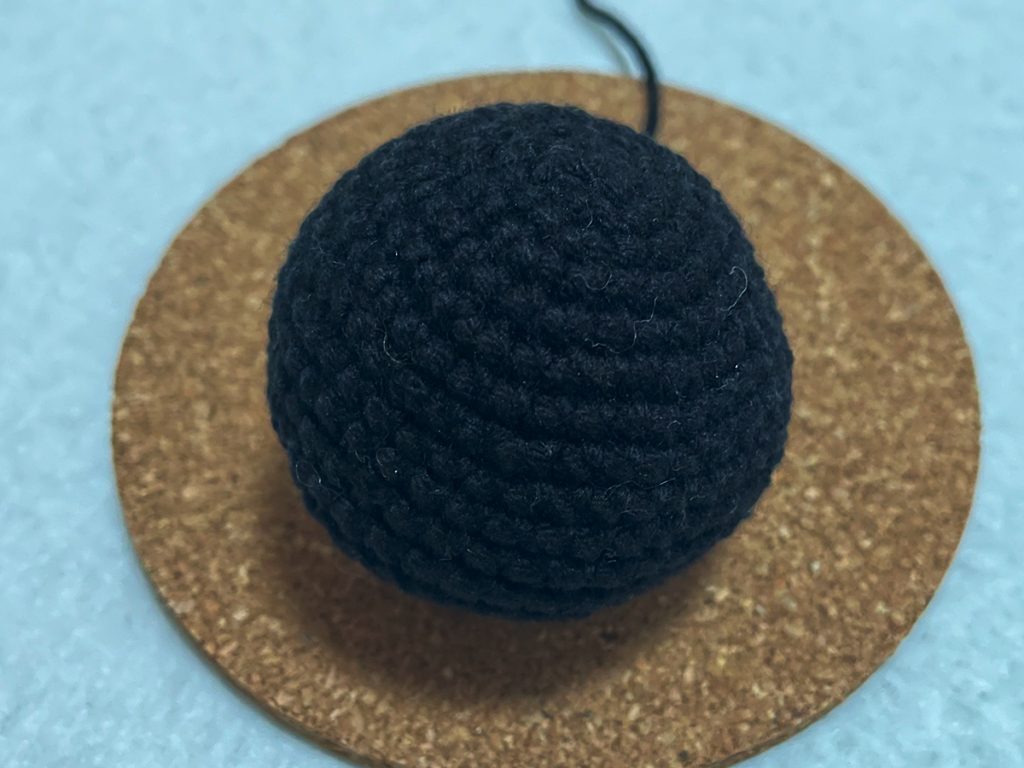
② Crochet the eyes of the coal ball.
| Row | Stitch |
| R1 | Magic Ring 6X |
| R2 | 6V |
| R3 | 6 (X, V) |
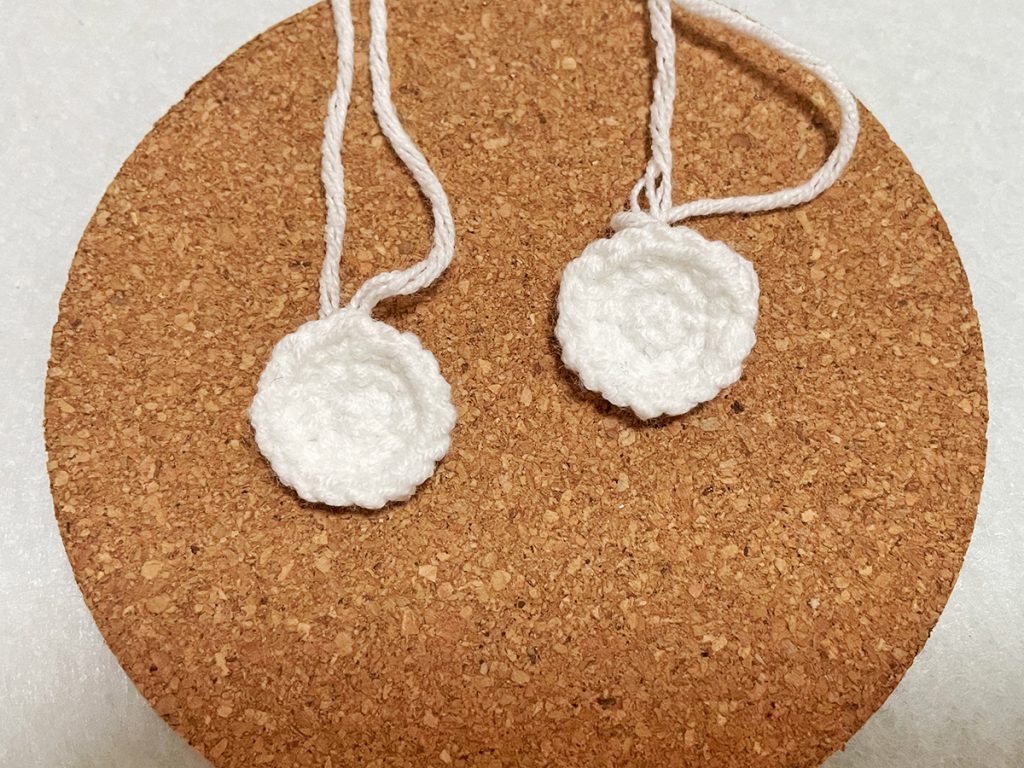
③Crochet the arms and legs of the coal ball.
| Row | Stitch |
| R1 | Magic Ring 6X |
| R2 | 6V |
| R3 | 12X |
| R4 | 6A |
| At the end, crochet 10 chain stitches (ch), then join them to the main body. |
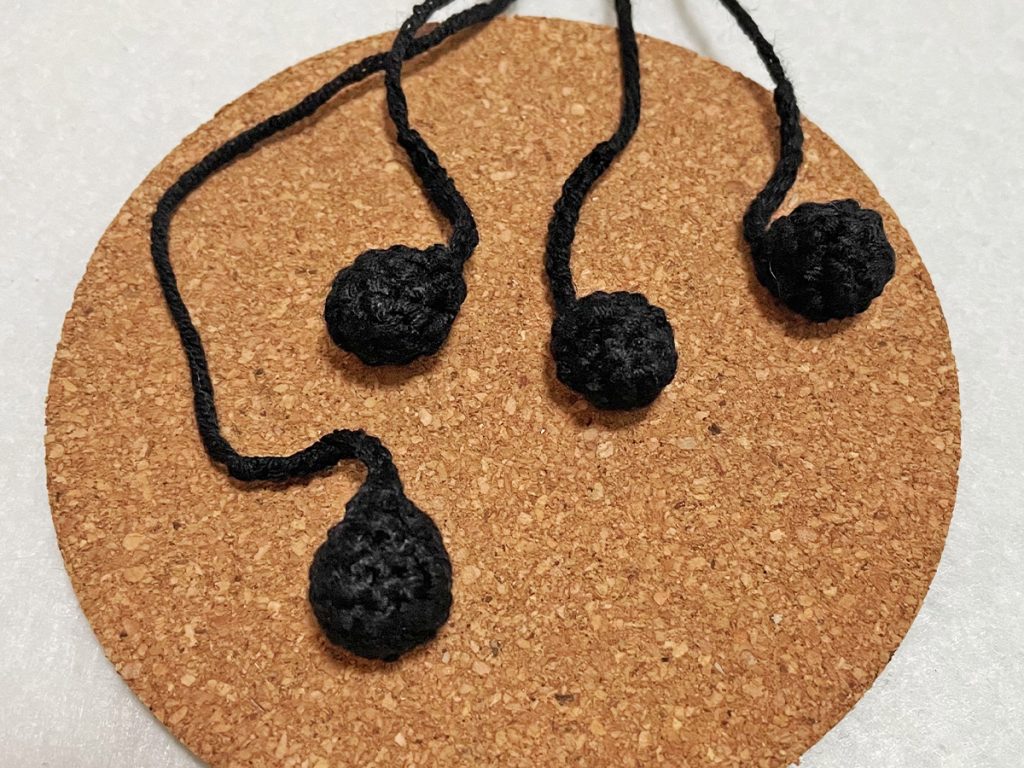
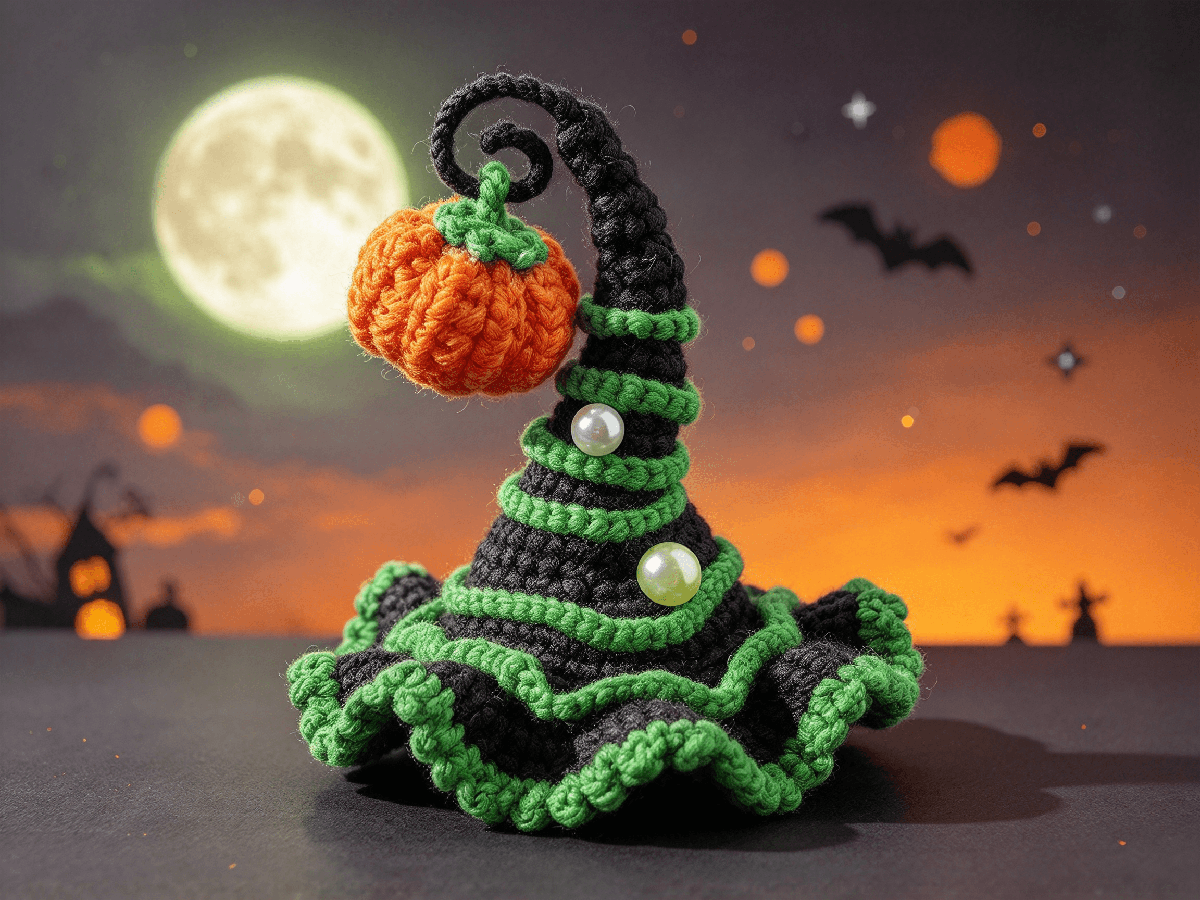
④ Crochet a witch’s hat.
| Row | Stitch |
| R1 | Magic Ring 6X |
| R2~R8 | 6X |
| R9 | 3 (X, V) |
| R10 | 9X |
| R11 | 3 (X, V, X) |
| R12 | 12X |
| R13 | 3 (3X, V) |
| R14 | 15X |
| R15 | 3 (2X, V, 2X) |
| R16 | 18X |
| R17 | 3 (5X, V) |
| R18 | 21X |
| R19 | Change to black thread. 3 (3X, V, 3X) |
| R20 | 3 (7X, V) |
| R21 | Change to purple thread. 13(X, V),X |
| R22 | 40FV |
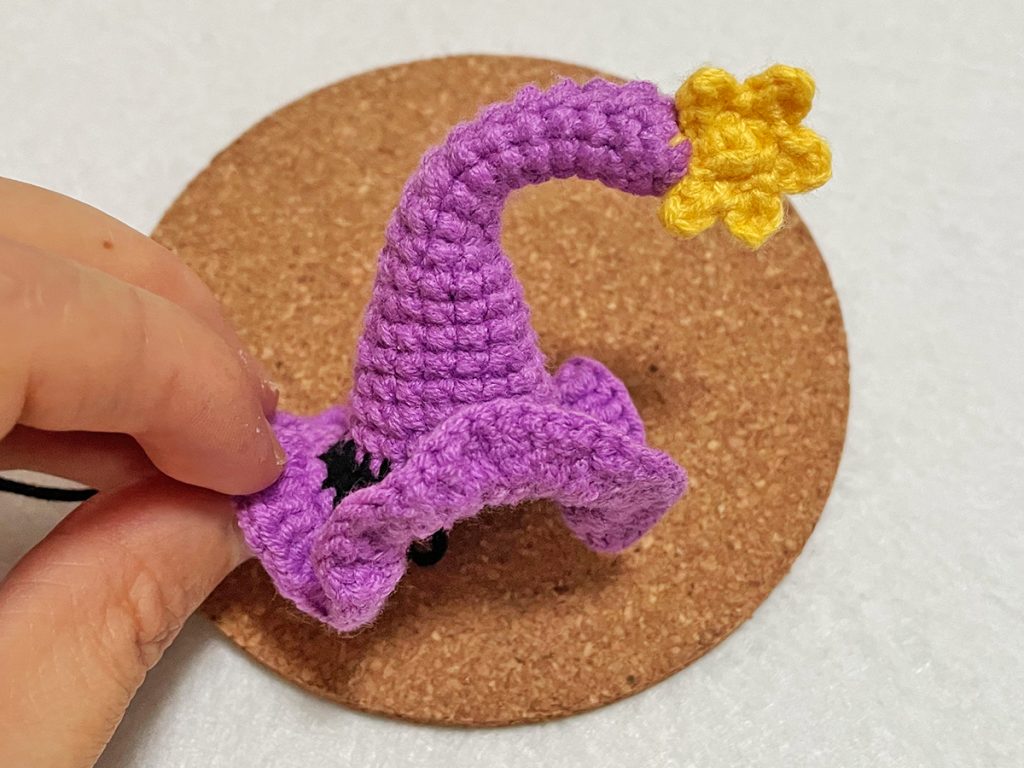
⑤ Crochet a small coal ball.
| Row | Stitch |
| R1 | Magic Ring 6X |
| R2 | 6V |
| R3 | 6 (X, V) |
| R4~R5 | 18X |
| R6 | 6 (X, A) |
| R7 | 6A |
| Slip stitch to finish and leave a long end for sewing |
⑥Crochet the eyes of the small coal ball.
| Separate two strands from the four-strand yarn, then crochet 8 single crochets (sc). |
⑦ Crochet a star.
| Row | Stitch |
| R1 | Magic Ring 5X |
| R2 | 3ch, Crochet from the second last stitch. X,T, SL |
Assembly Guide
- Follow these steps to complete your crocheted coal amigurumi:
- Weave in all loose ends to finish your glowing Stitchfire.
- Stuff the main body lightly for a soft, squishy shape.
- Sew the arms between Row 10 and Row 11 of the main body.
- Sew the legs between Row 3 and Row 4 of the main body.
- Attach the eyes securely to the front of the head.
- Place the witch’s hat on top of the coal ball and sew it in place.
- Add the small coal ball and star as decorative accents.
#Amigurumi #CrochetPlush #FreeCrochetPattern #Stitchfire #HandmadeGift #CozyDecor #BeginnerCrochet #YarnCrafts #MagicCrochet #CrochetLove